
[ad_1]
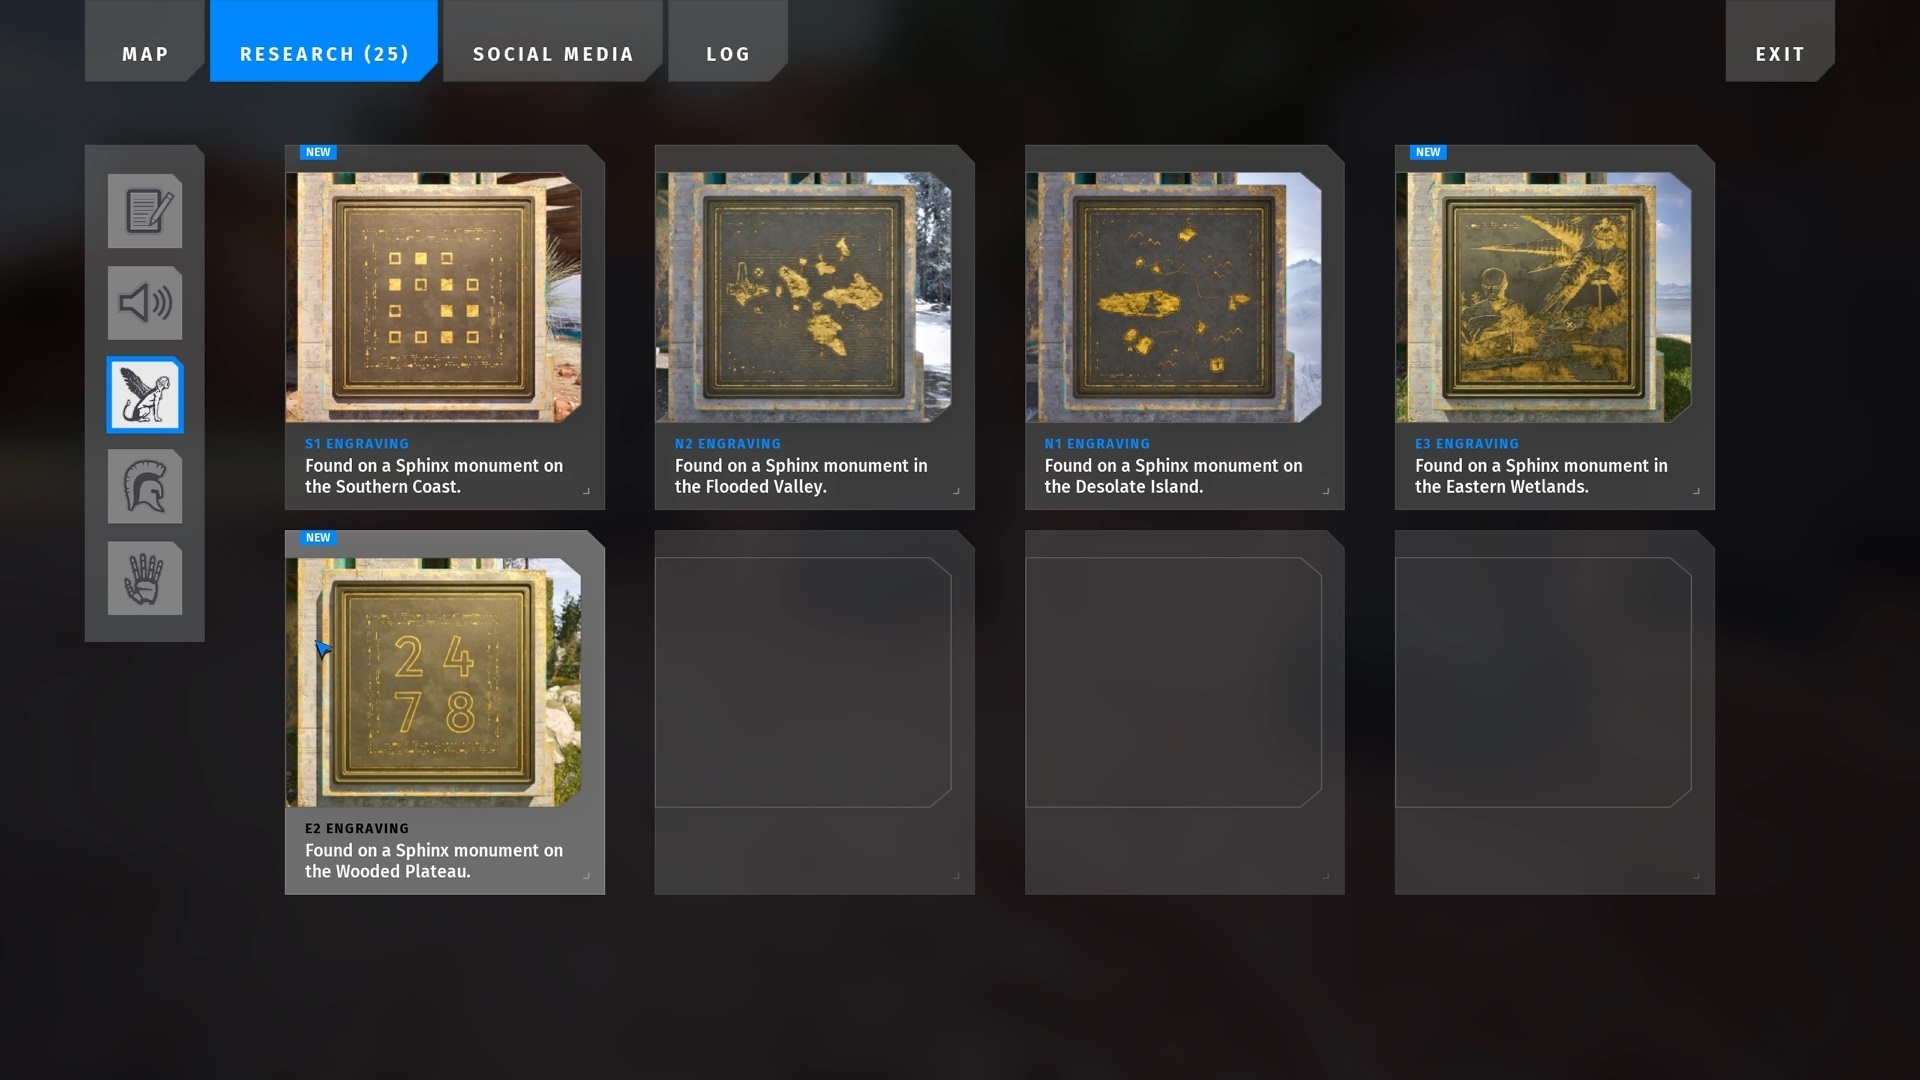
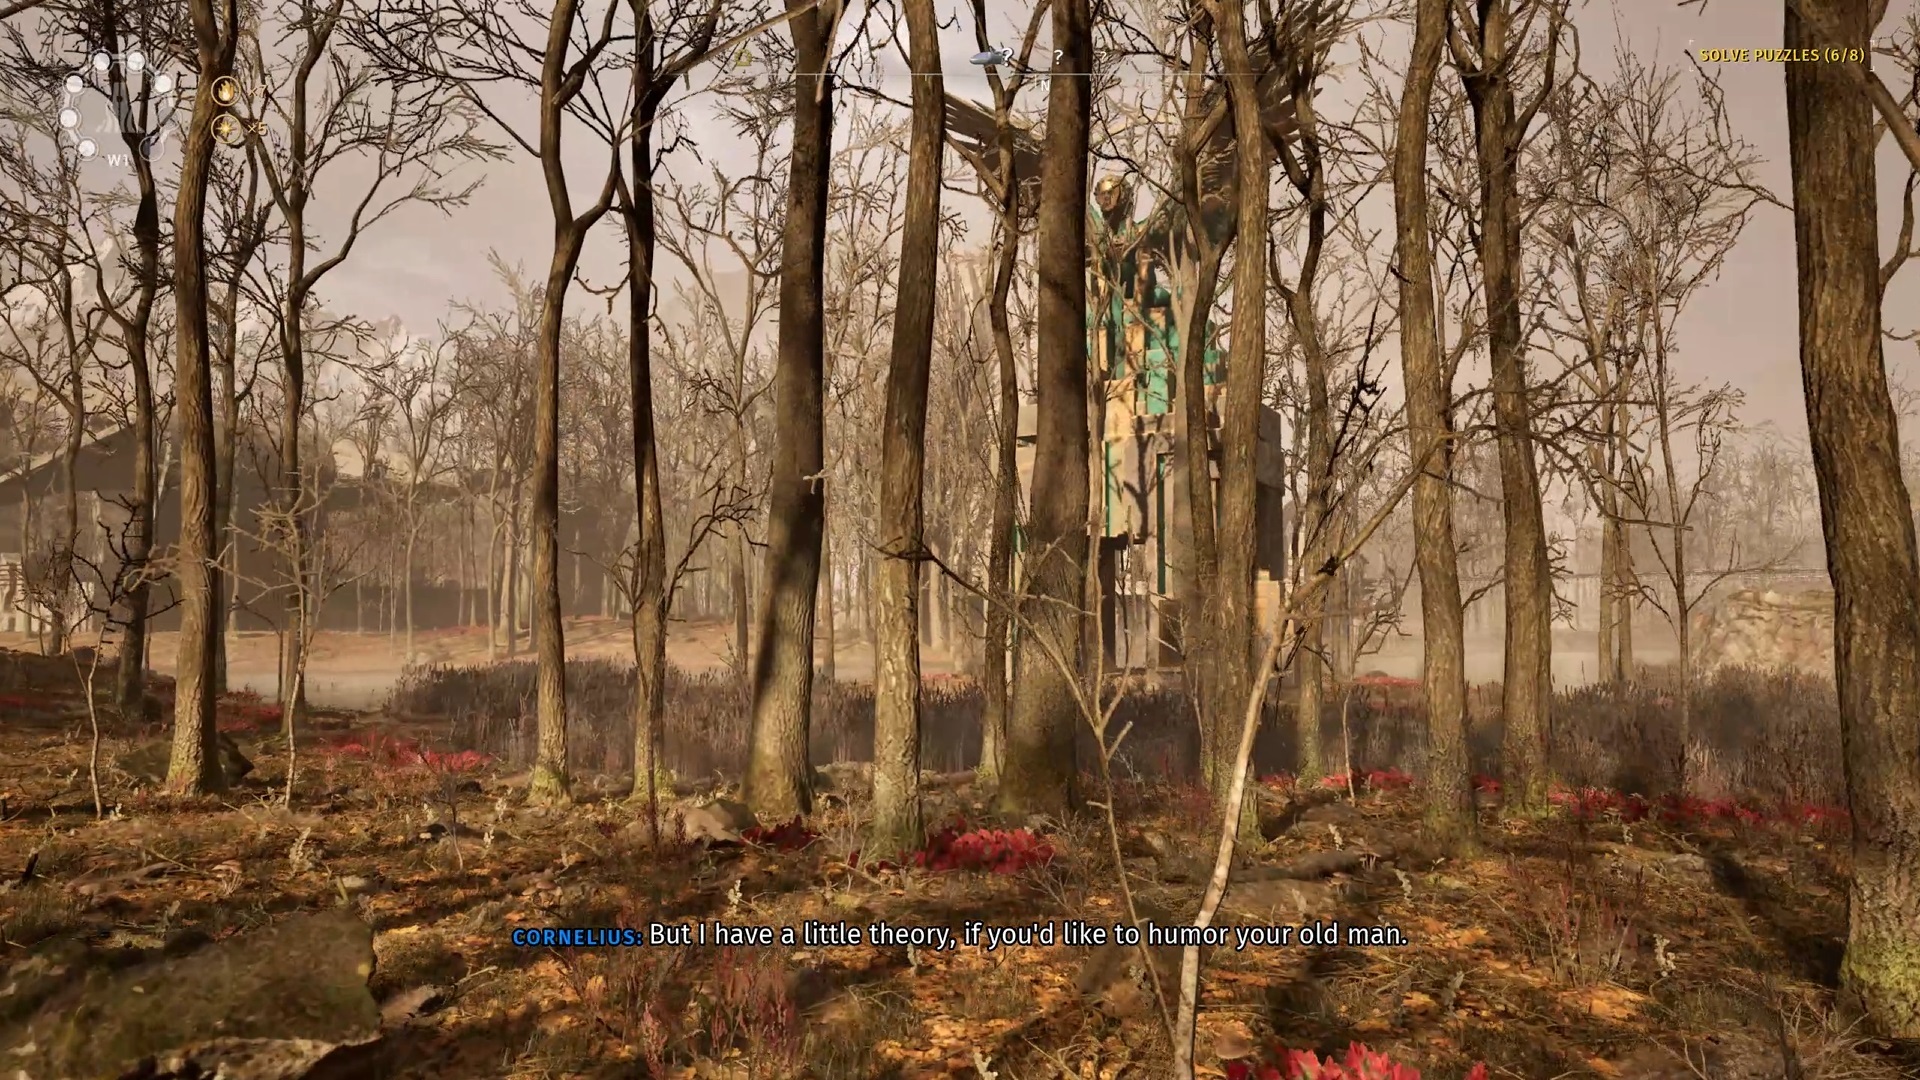
The Talos Precept 2 has its fair proportion of secrets and techniques, and chief amongst them are the particular further puzzles hiding in every of the sport’s 12 major areas. Snoop round an enormous and you will find massive statues, or monuments, to every of the sport’s three spectral characters: Pandora, Prometheus, or the Sphinx. Determining methods to clear up these riddles rewards you with stars, that are important to unlocking among the recreation’s most fascinating secrets and techniques.
The Sphinx’s puzzles aren’t fairly as robust as these tied to the Pandora statues, however they will nonetheless be vexing. They typically require you to search out particular areas within the space and to do some spatial reasoning. Determining precisely the place the sport desires you to go might be complicated, particularly since there is not any overarching map you should utilize to search out your method.
Here is a whole information to fixing each one of many Sphinx monuments that will help you navigate the puzzles and unlock all the things the sport has to supply.
East 2

Discover the Sphinx monument close to the no. 3 puzzle room, to the fitting of the transit system once you arrive. On the entrance of the monument, you will discover a plaque with the numbers 2, 4, 7, and eight marked on it.
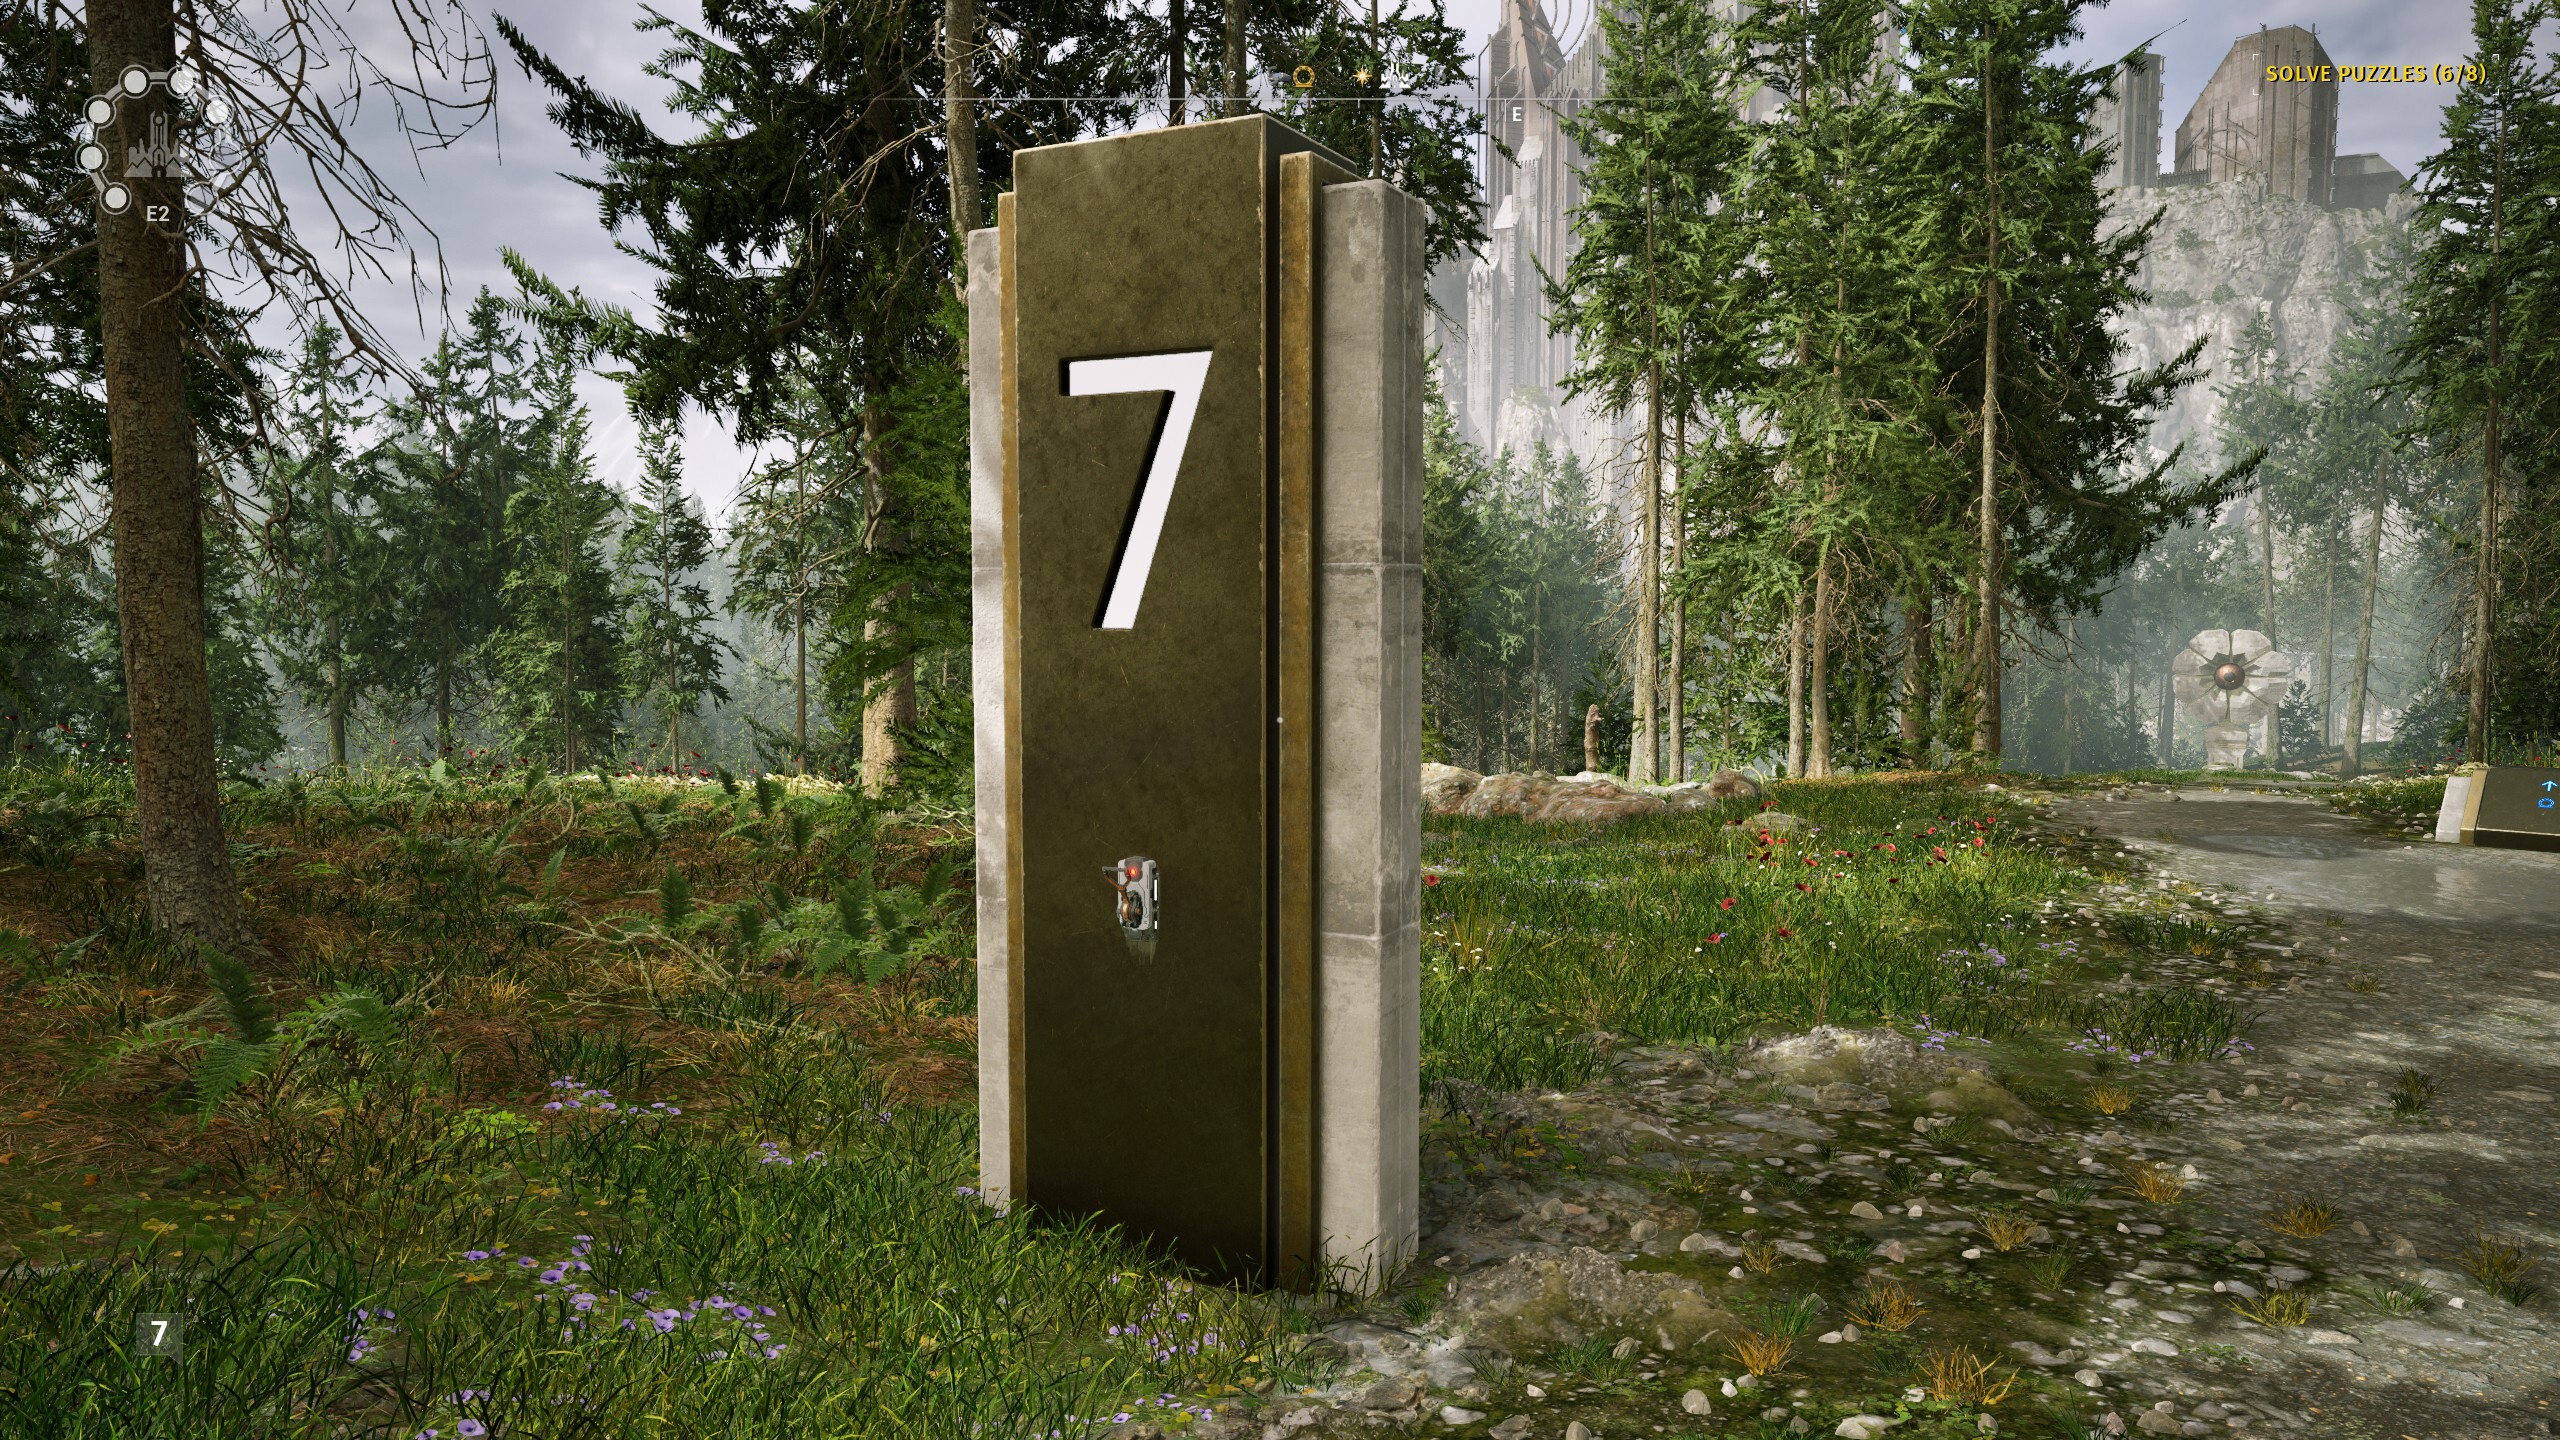
For those who test the again of any of the indicators that mark the numbered puzzle rooms, you will discover a swap. These are on the backs of each single numbered signal, however you solely need to activate those talked about on the monument: 2, 4, 7, and eight. As soon as you’ve got flipped all 4 switches, return to the monument to say your star.
East 3

The Sphinx monument right here is close to the no. 4 puzzle room. The plaque right here exhibits an image of an enormous human statue and the star-shaped tower on the heart of the realm behind it. An X marks the spot you are in search of to unravel the puzzle.

The human statue is to the left of the place you arrive from the transit system, down by the coast of the island. You are in search of a spot simply up the hill from the statue, previous the small pond that surrounds it.

Search for a small overlook space with a palm terminal on it. For those who’re standing on the hill with the statue at your again and the terminal in entrance of you, look to the left for one more couple of concrete pillars, much like those proper beneath the terminal.
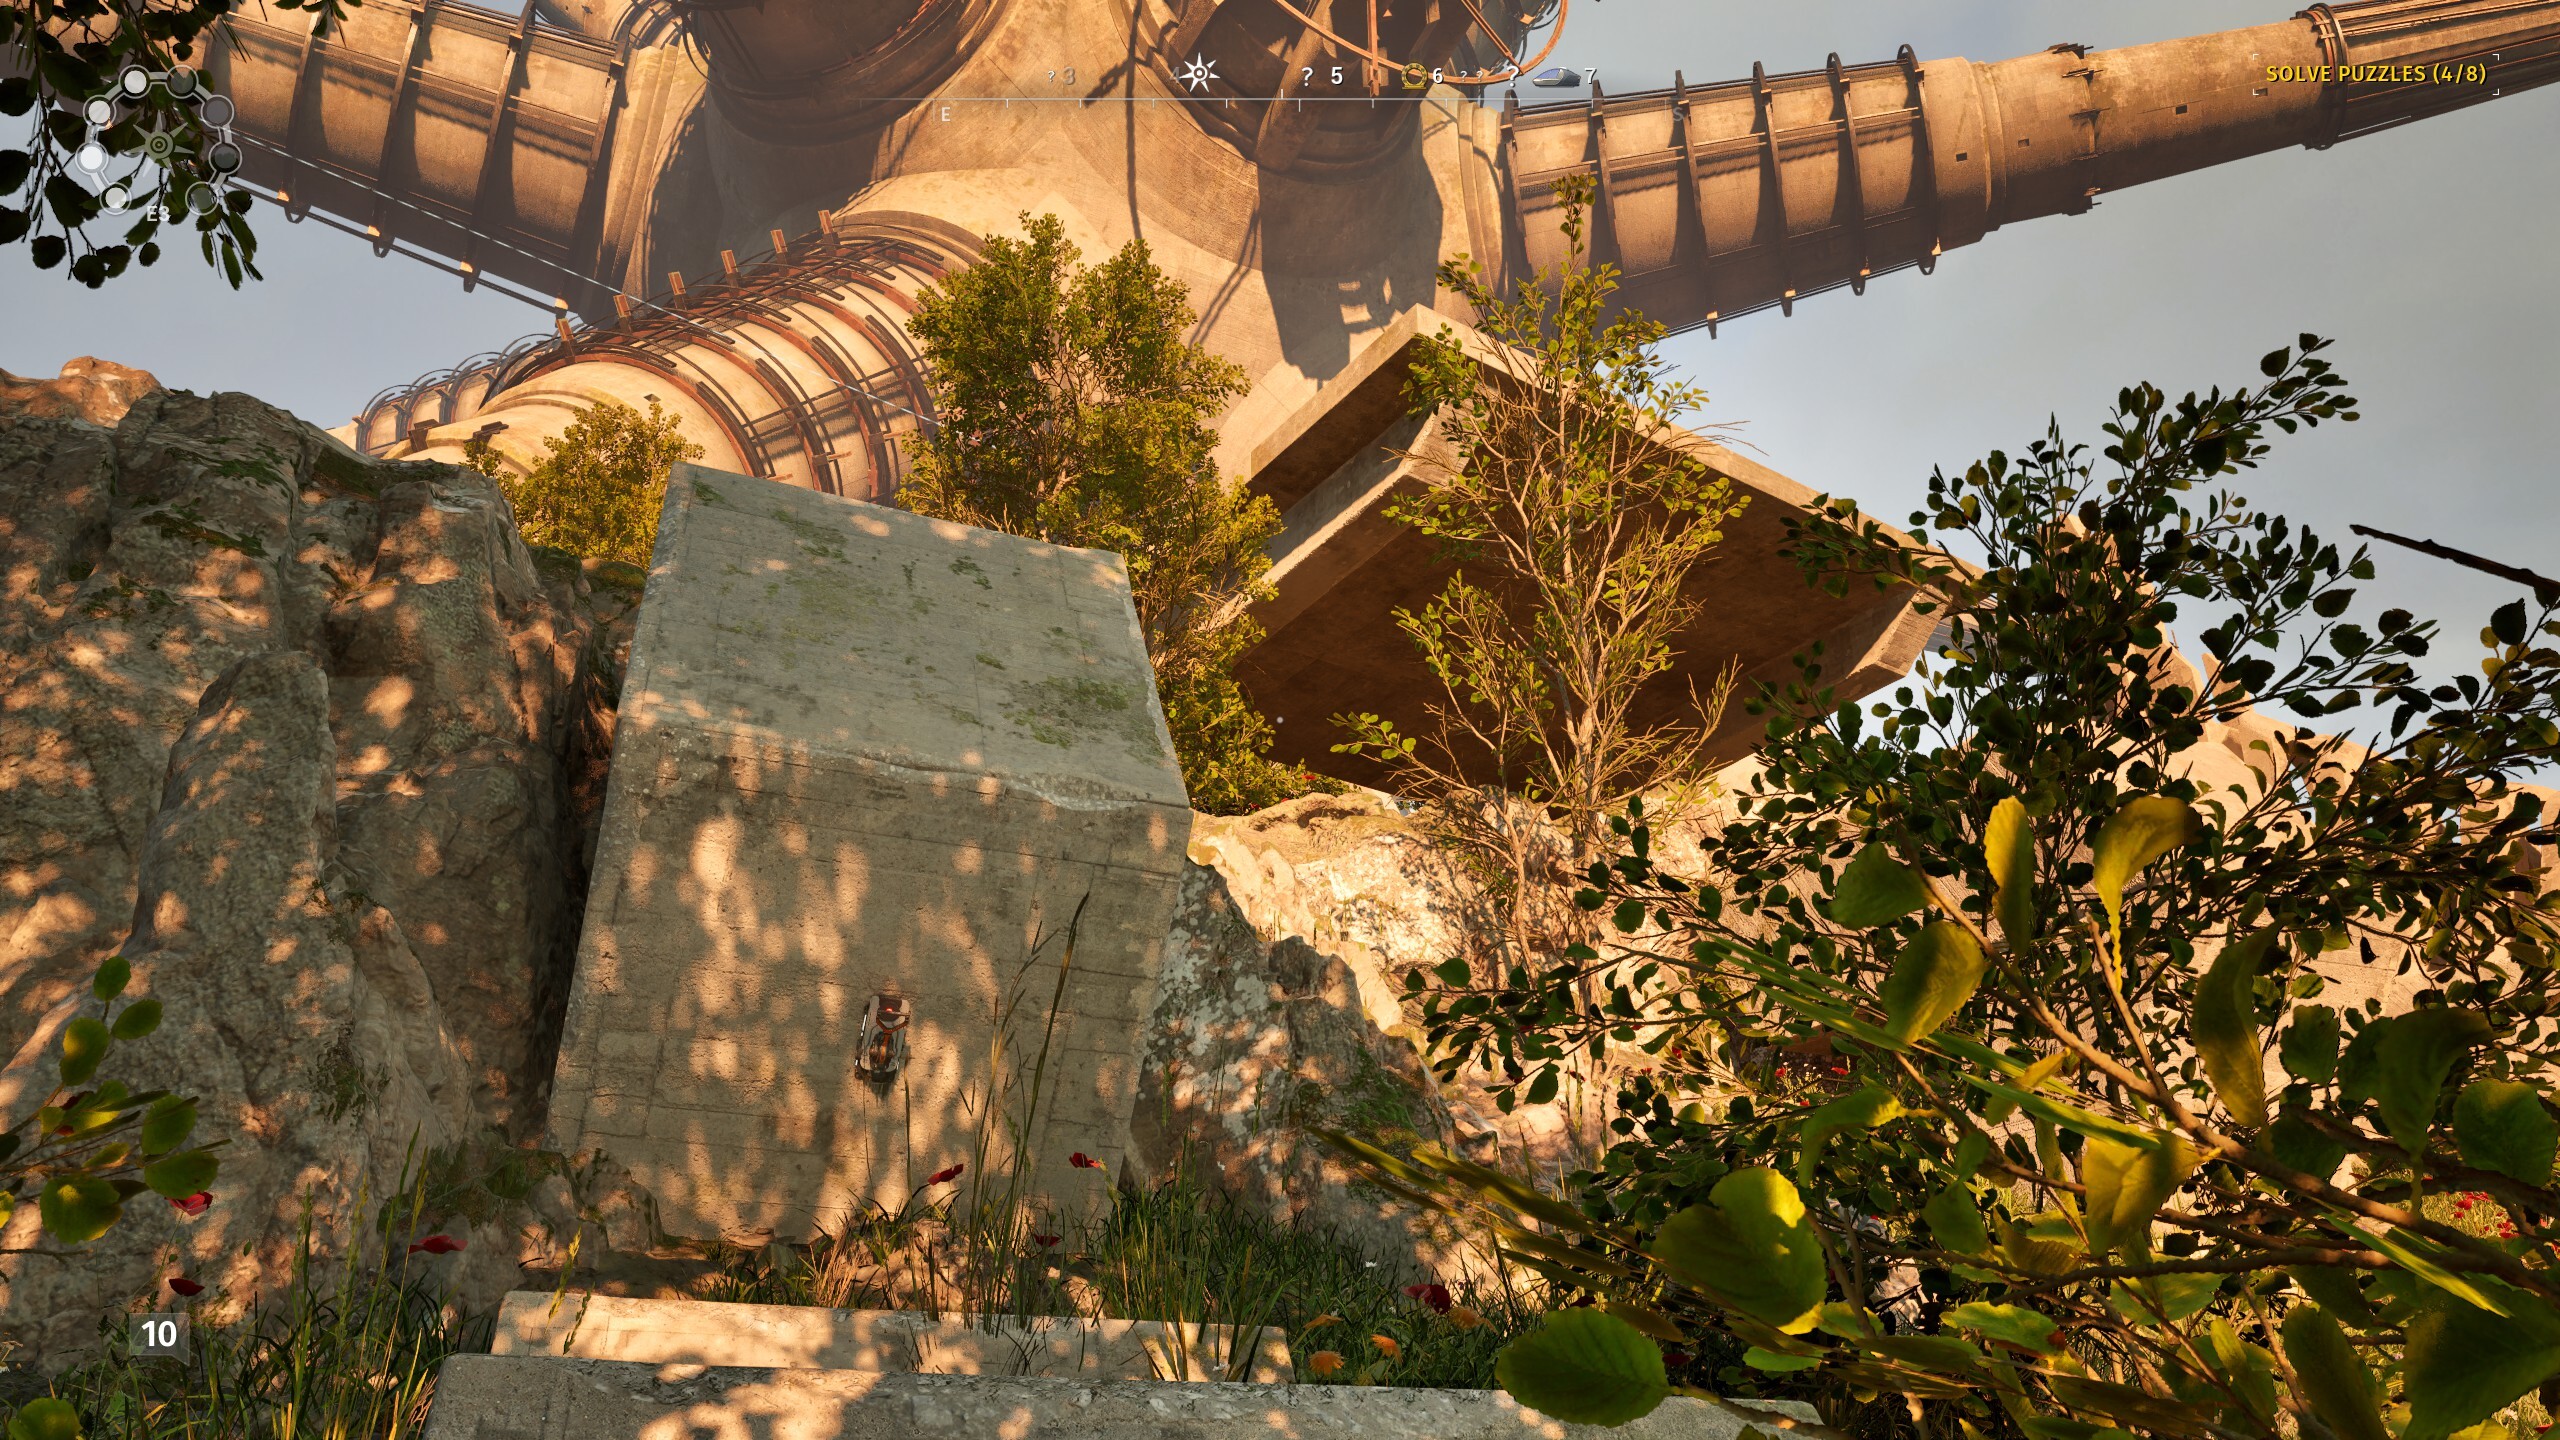
You may discover a swap to flip on one in every of these pillars that can clear up the puzzle for you.
North 1

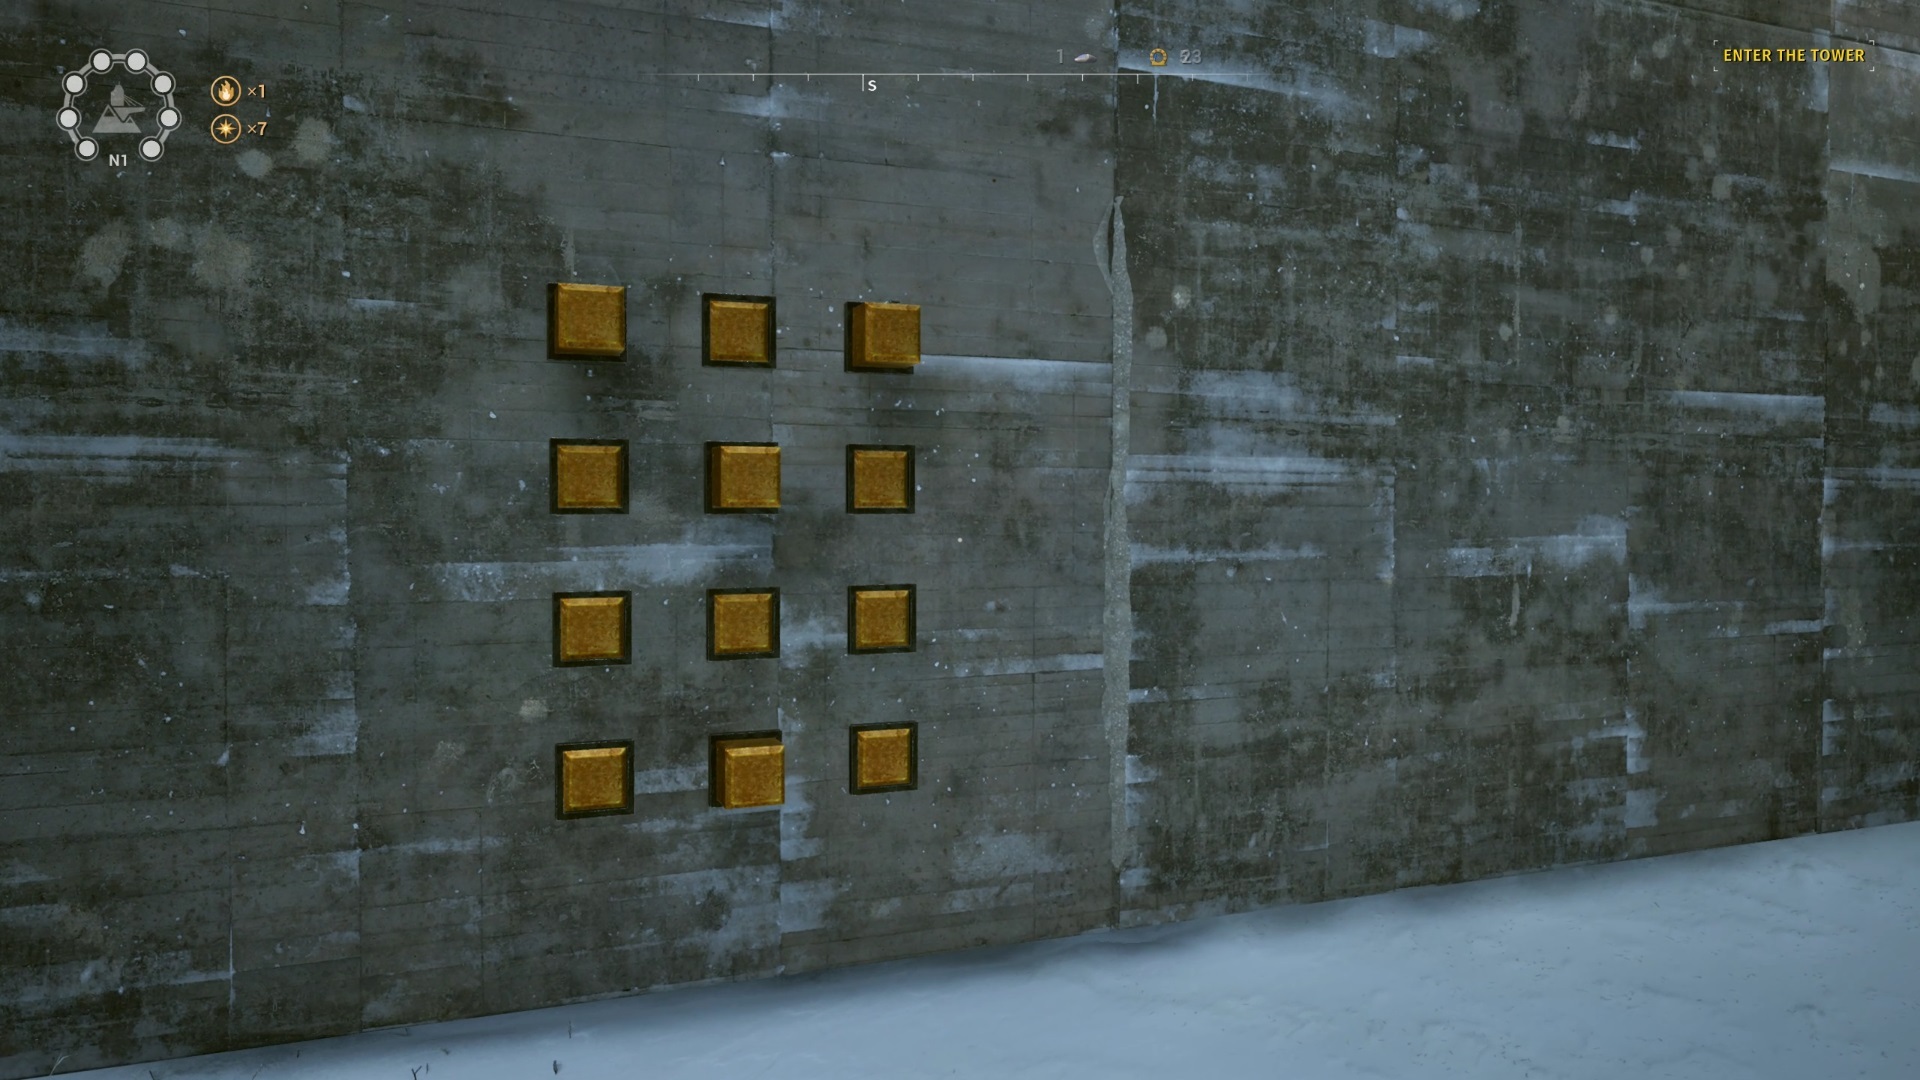
Search for the Sphinx monument on the prime of the mountain behind the no. 7 puzzle room. The plaque on it exhibits a map of the realm. Close to three of the areas, you will see letters written: T, A, and C. These correspond to cube-like swap patterns you will want to search out on the surface partitions of three puzzle rooms. This explicit puzzle is complicated as a result of the map is flipped and never significantly useful. The highest of the map, marked by the C, is definitely the south reasonably than the north, and the icon representing the tower is flipped when in comparison with the way in which it is truly oriented within the space in entrance of you.

Begin with puzzle room no. 7. For those who observe the trail alongside the wall to the fitting as you head down the mountain, you will see a sequence a sq. form made up of 9 gold cubes that stick out of the wall. Push in all three cubes on the highest row and all three cubes within the center column, forming the letter T. You may know you’ve got obtained it proper for those who intention at any of the cubes and the message “Sample is already solved” seems in your display.

Now head towards the no. 8 puzzle, however drop all the way down to the fitting of the puzzle room, the place you will discover one of many bonus rooms. You are seeking to get round this one to the left, however you will must go across the outdoors of the puzzle room on the fitting. Count on to do some leaping over some rocks. This set is 12 cubes complete. Activate all three cubes on the highest row and left and proper columns, and the center dice within the third row. You are forming an A sample right here.
The ultimate sample is on the option to the south on the opposite facet of the tower, on the wall of a bonus puzzle.

Head round to the again of this puzzle, being cautious to traverse the rocks whereas avoiding falling off the sheer cliffs on the again. You may discover the dice puzzle on the again nook of the puzzle room.
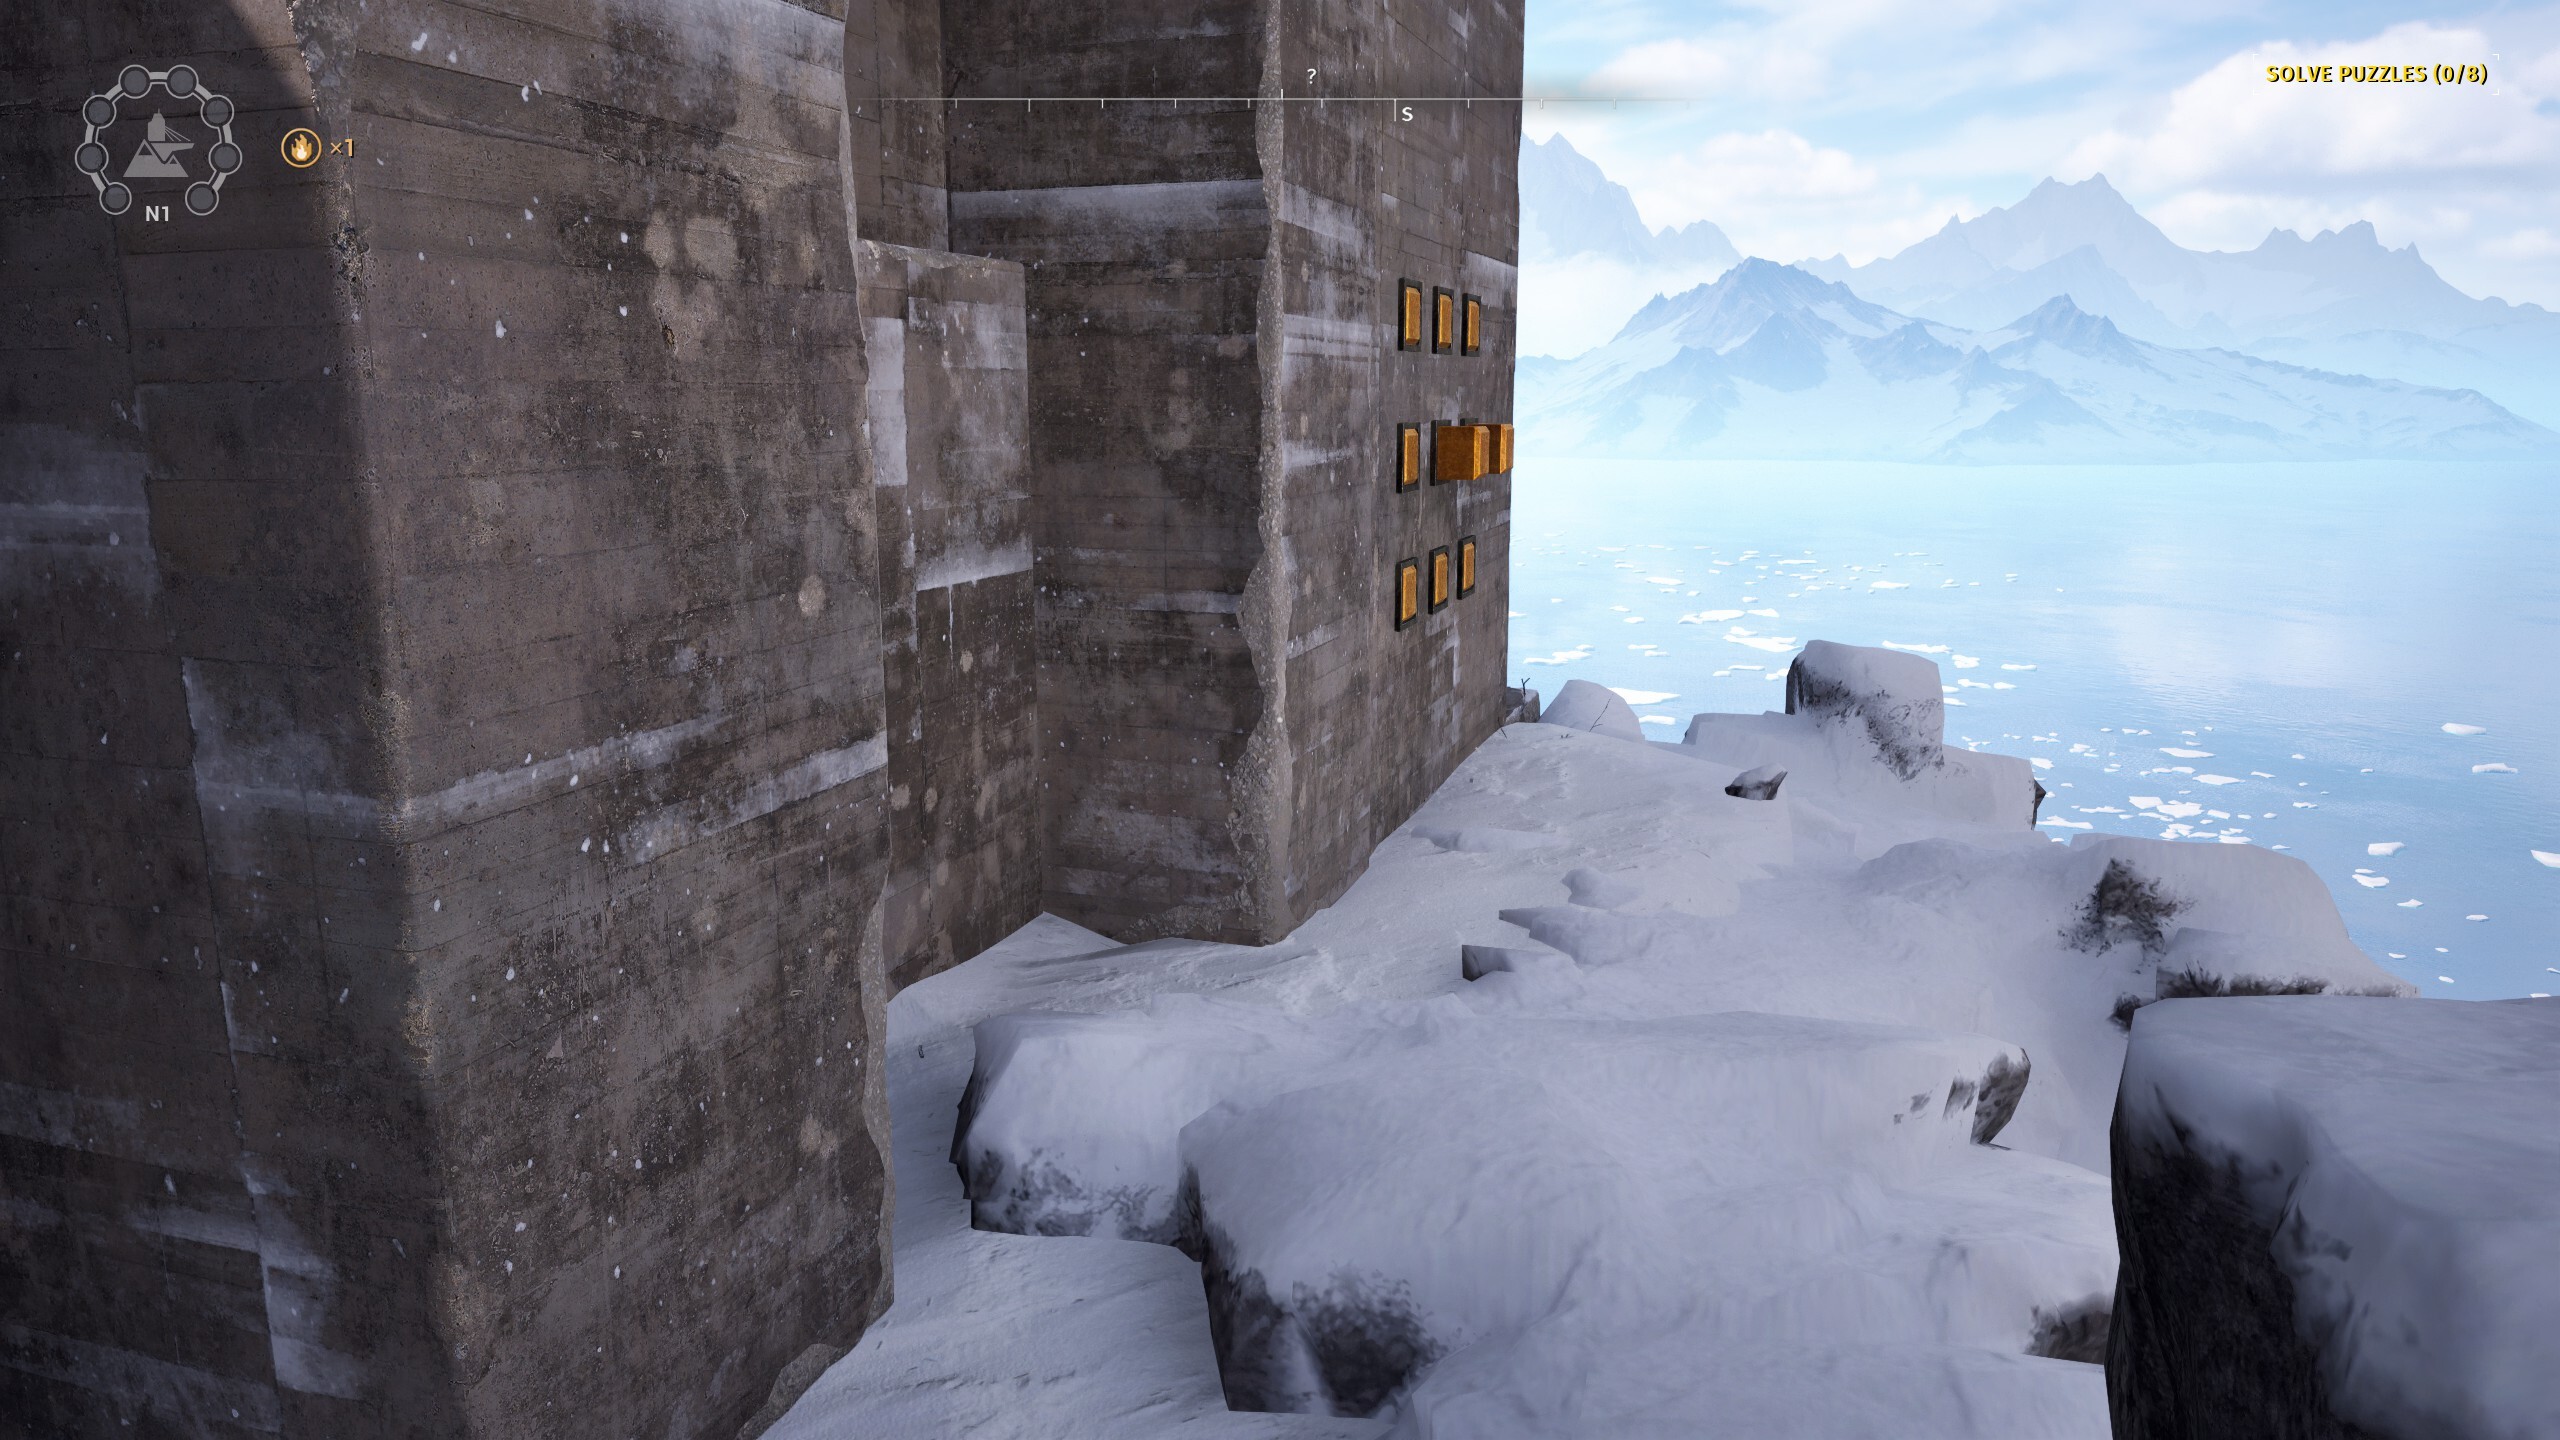
Push all three cubes on the highest and backside rows and the remaining dice on the left column to type a “C” form and full the puzzle.
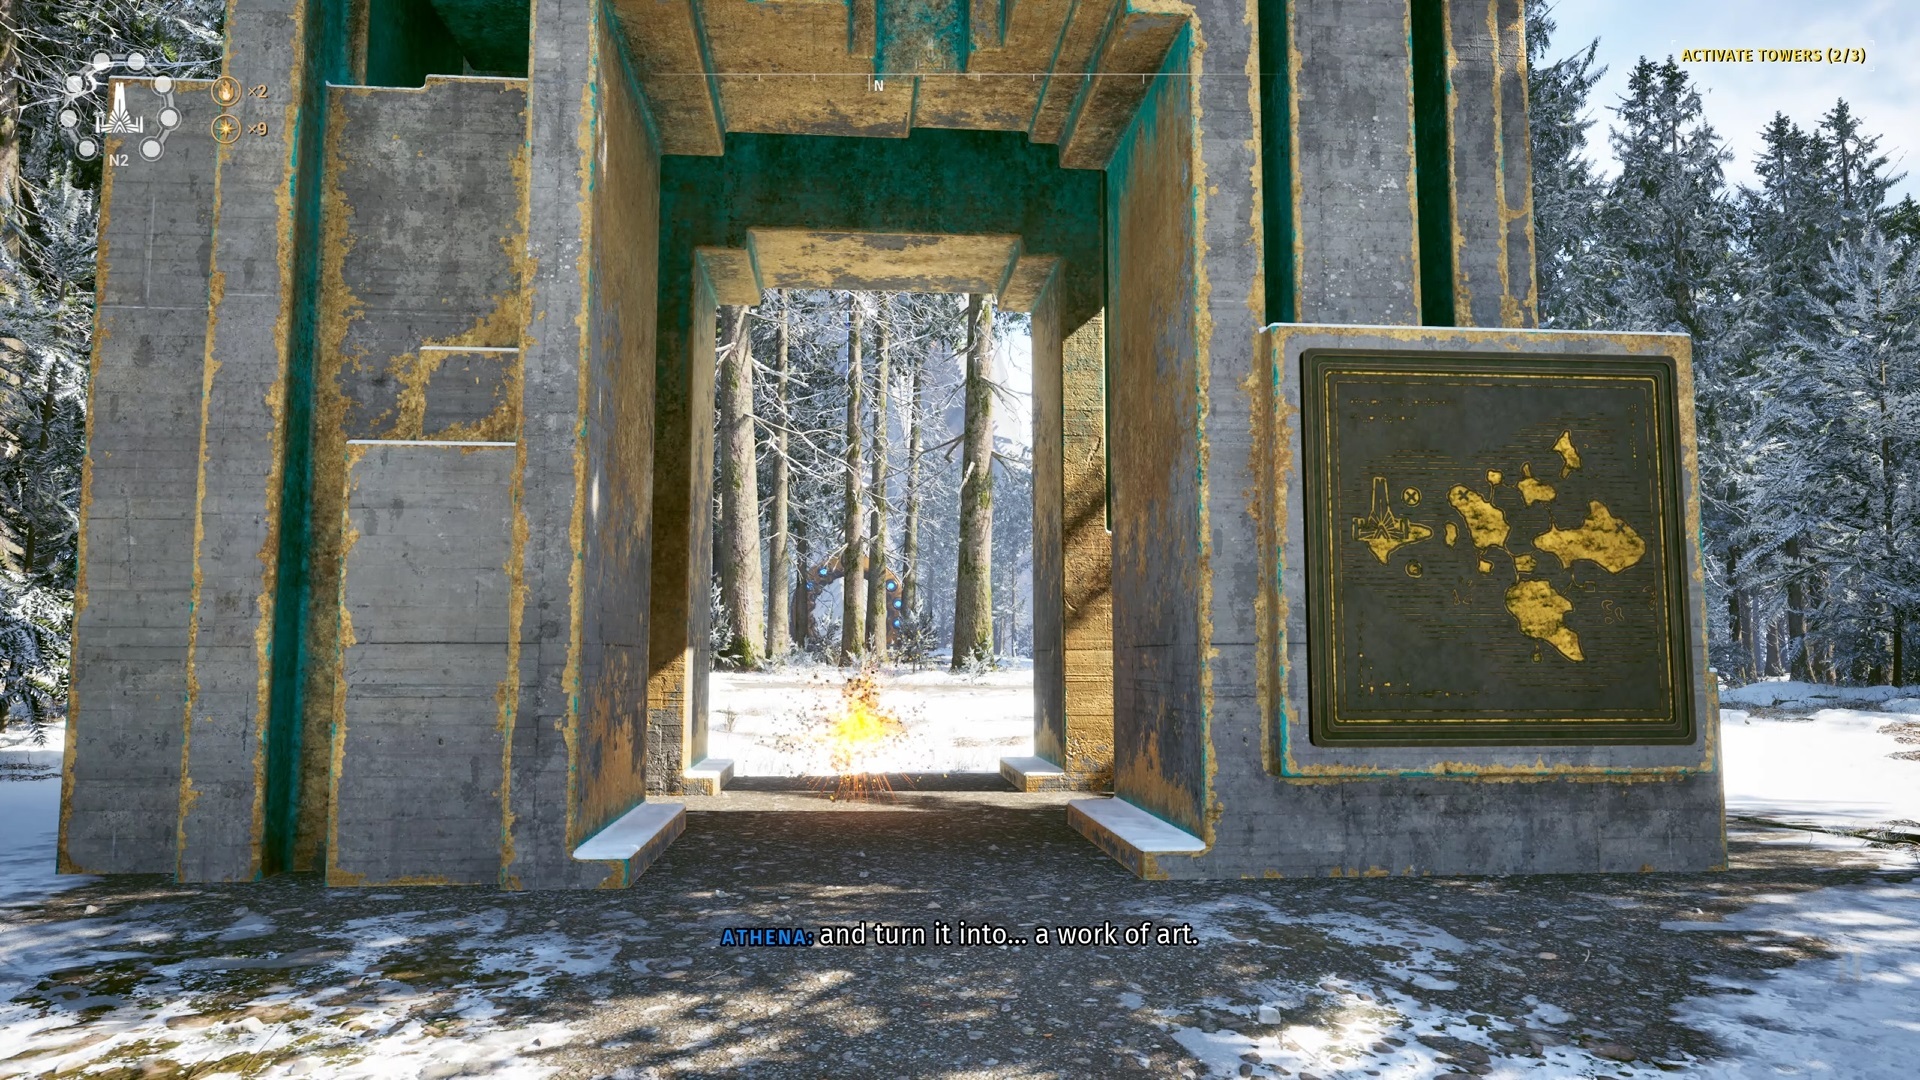
North 2

Your Sphinx monument is true in entrance of the transit station as you arrive. The plaque on it marks three spots on the map, as regular, and at these spots, you will discover switches to flip.

The primary swap is fairly simple to search out. Head to the no. 1 puzzle room and search for a path that swings round alongside the outer wall on the fitting facet of the room. Observe that path because it heads north after which take the flip to the east towards the water’s edge. On the finish of the trail is a statue. Flip the swap to finish the primary leg of the puzzle.

The second swap is on the far japanese finish of the realm. Search for the transit system’s monorail observe. For those who stand beneath the observe going through away from the transit system, make your option to the fitting of the observe till you discover a path by way of the woods. Flip left to observe the trail south, in the identical path because the monorail observe taking you away from the transit system. Observe the trail to the water’s edge and you will find a statue with a swap on it.

To get to the third swap, you will need to end the puzzles on this space and create the tetromino bridge to get to the tower. Whenever you cross it, look to the fitting of the tower–you’ll see a small island with a monument tower on it.

Use the sandbar that stretches from the seashore you are on to succeed in the island.

Search for the swap on a statue.
South 1
Discover the Sphinx monument hanging out within the water close to the tower, close to the place you begin on this space. The plaque exhibits a sequence of cubes, a few of that are stuffed in strong gold, and a few are empty.
The puzzle this plaque is referring to might be discovered by heading down from the transit station alongside the winding path and heading east by way of the water. You are in search of a sequence of stone pillars protruding of the bottom, standing on a small seashore away from all the things else.
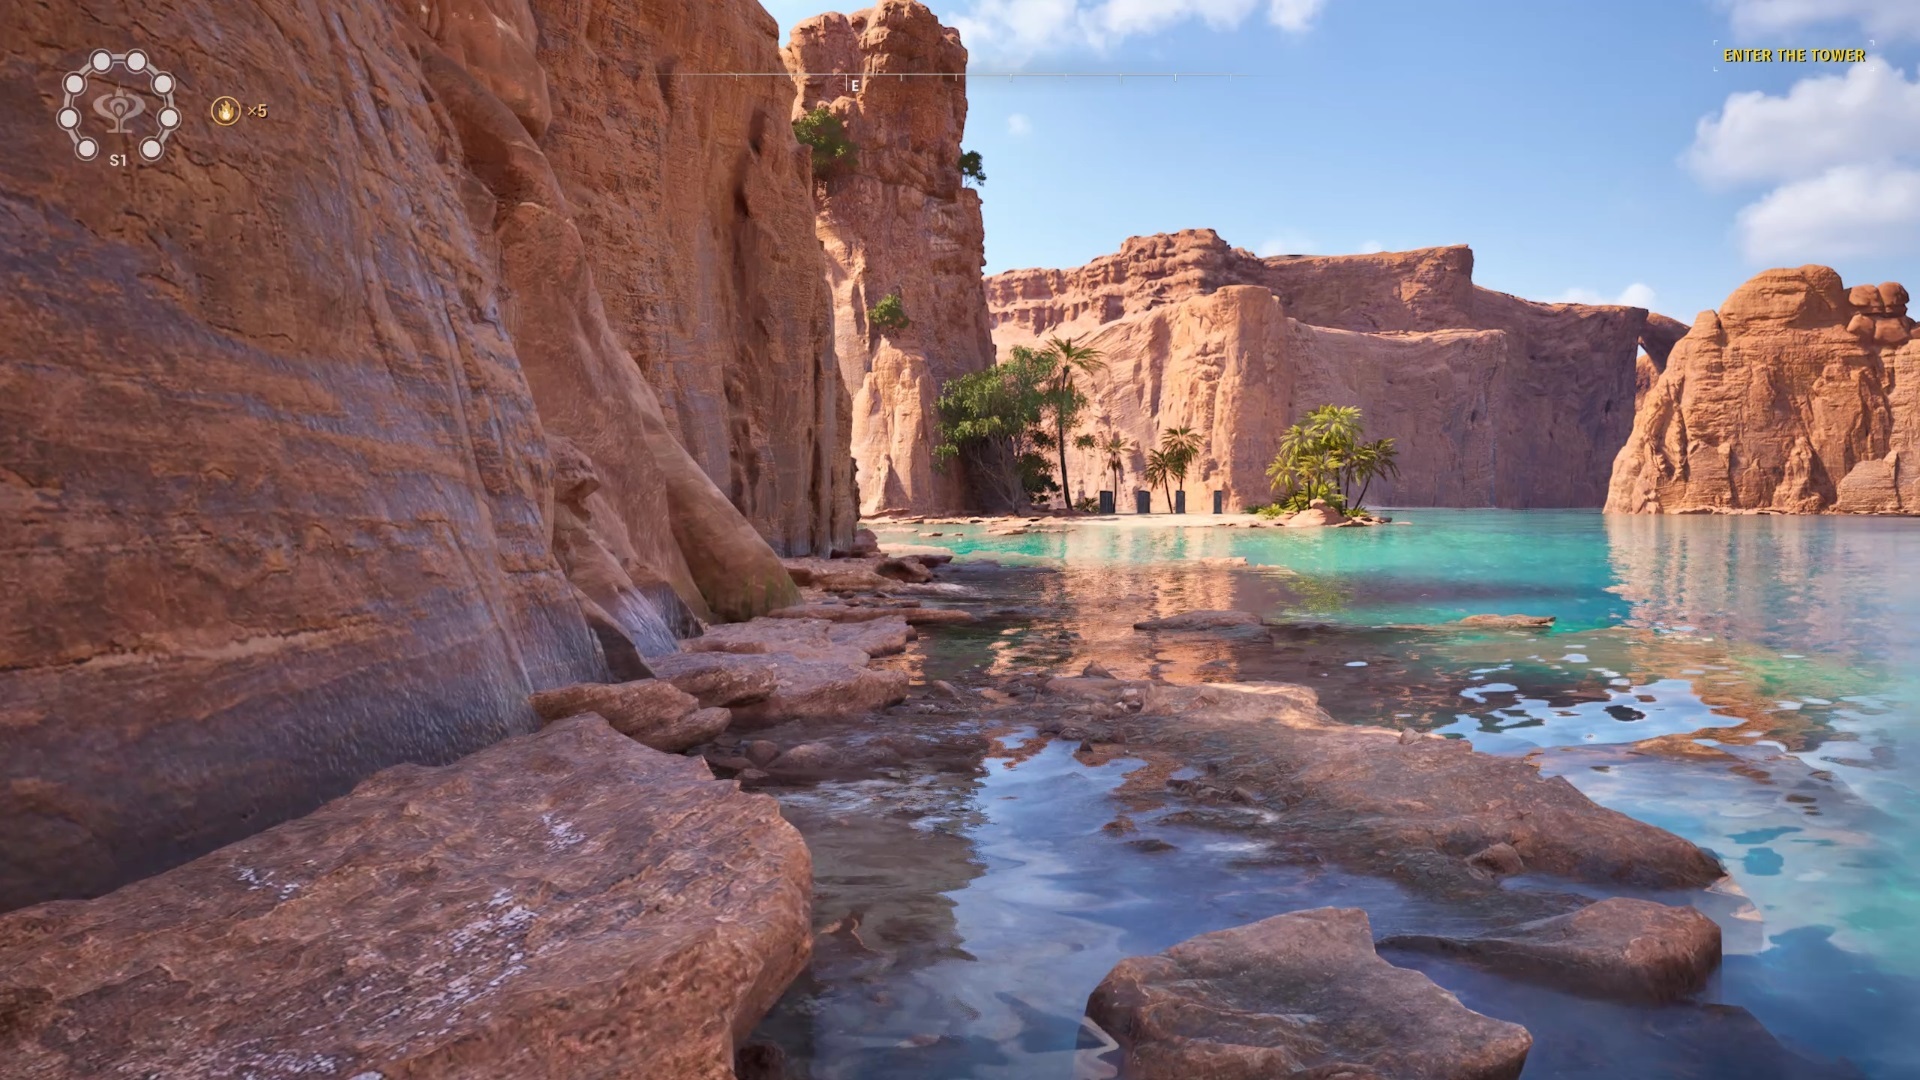
Whenever you discover them, stand together with your again to the water going through north to orient your self with the pillars in the identical method they seem on the plaque. Utilizing the plaque picture for reference (yow will discover it saved in your PDA), stroll round and “activate” the pillars which can be stuffed in on the plaque picture. It will decrease these pillars into the bottom. Within the first row, the northernmost one, that is the center pillar; within the second row going south, it is the primary pillar on the left and the third pillar from the left; within the third row, it is the 2 right-most pillars; and within the fourth row, it is the third pillar from the left. When all the right pillars are lowered, the puzzle will probably be full.
South 3
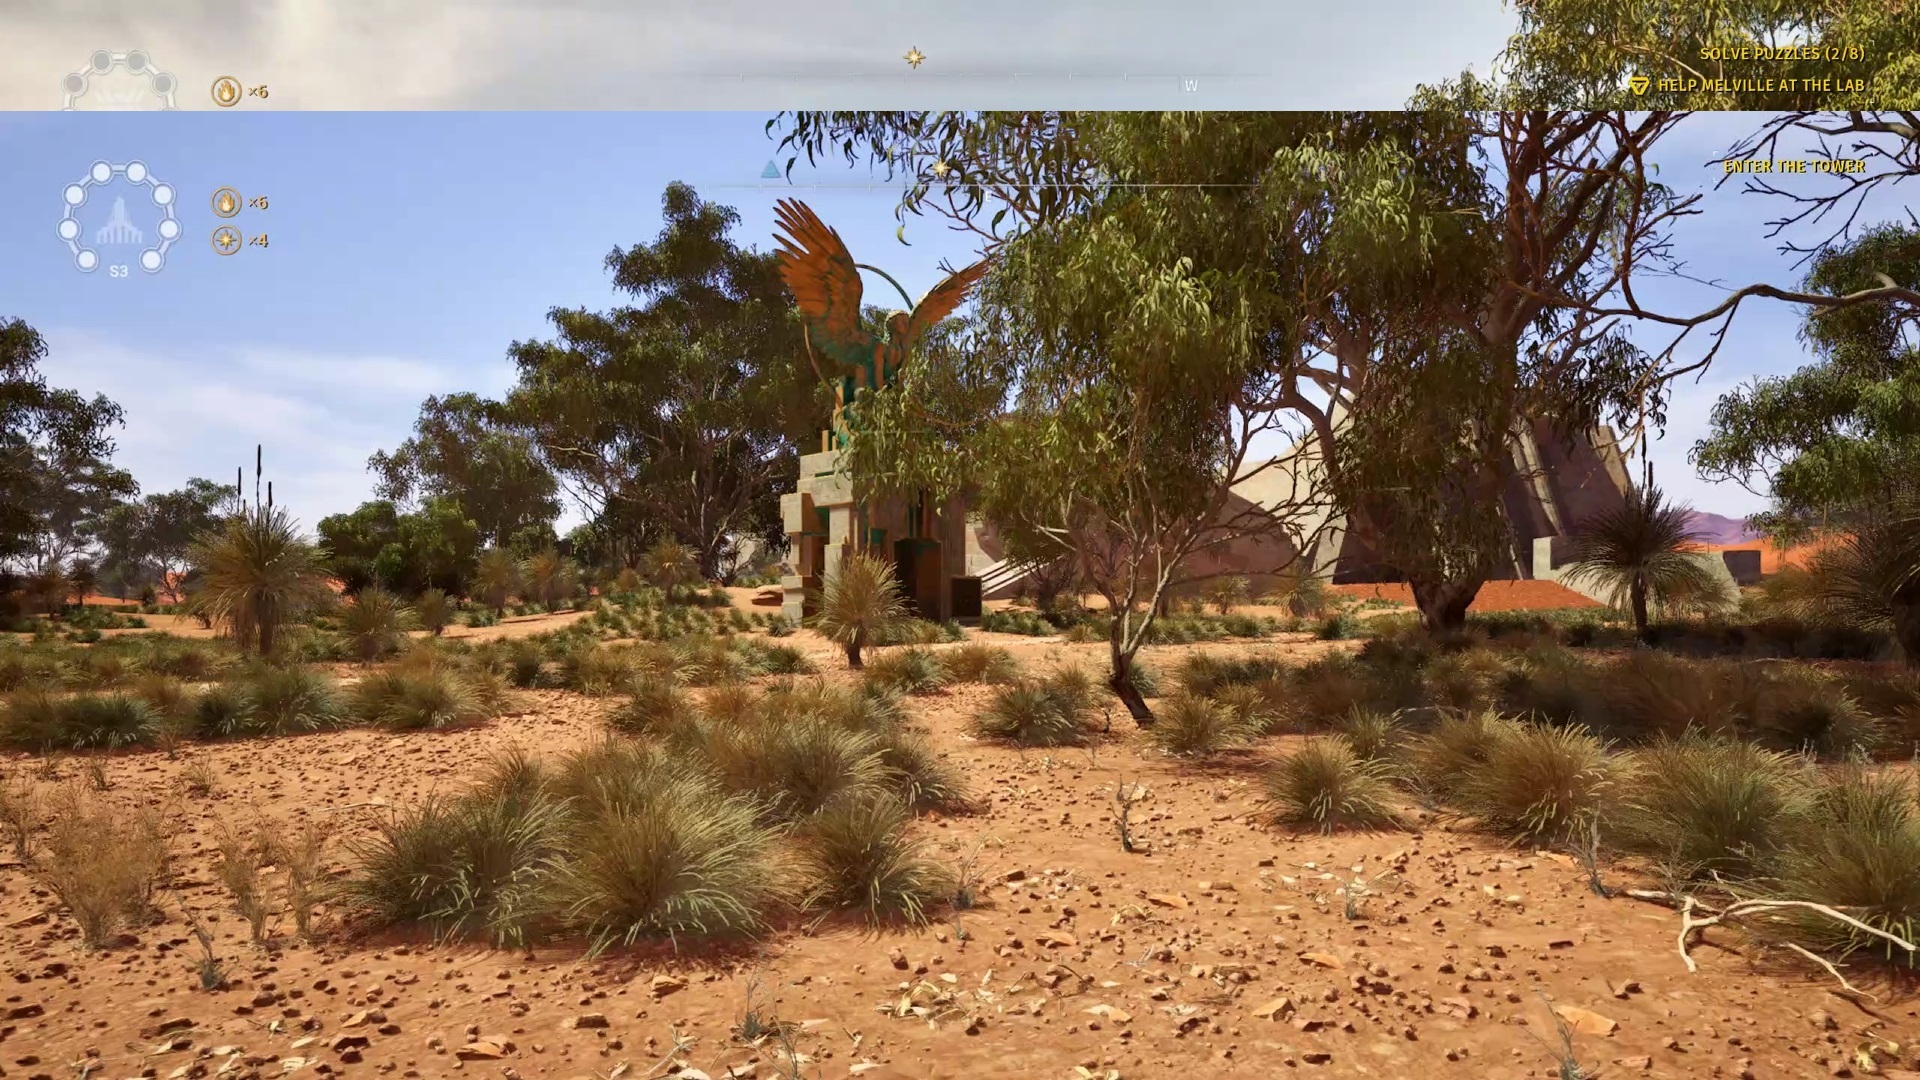
As soon as once more, the Sphinx monument right here presents you with a map of areas the place you will discover switches. Search for the monument close to the no. 3 puzzle room.

The robust half about this one is orienting your self to the plaque, which depicts the puzzle rooms scattered across the space fairly precisely however which nonetheless has a complicated orientation. The primary two switches are on the higher degree of the realm, whereas the final is within the valley across the tower itself.
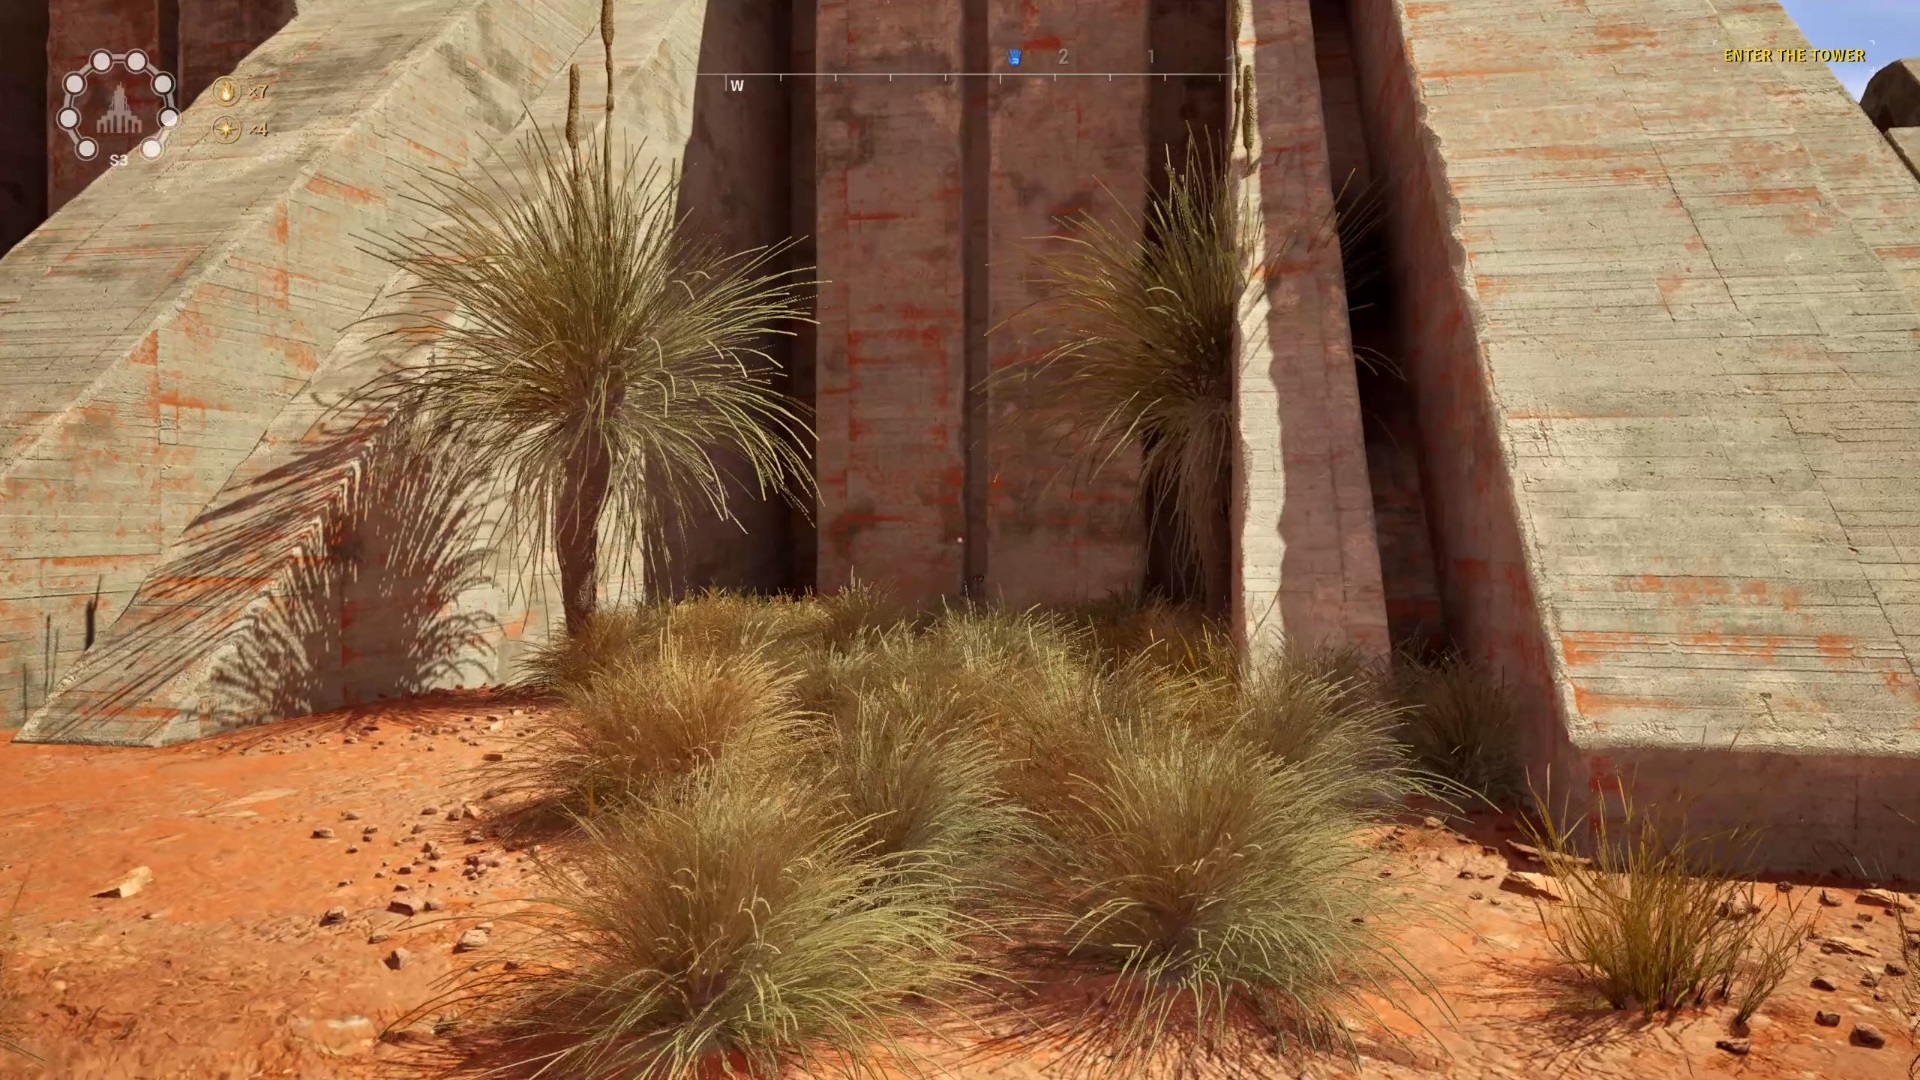
The primary swap on the southern facet of the outside wall of puzzle room 1. You may see huge angled concrete pillars. Search for the swap nestled onto the one on the fitting as you are going through towards the puzzle room.

Discover the second swap is on the southern exterior wall of the no. 2 puzzle room, and might be robust to identify due to the ridges in its design. It is on the finish of the wall that is near the doorway, between two massive concrete angles.
For the third swap, you will have to take the gravity elevate all the way down to the decrease part of the realm. This one is not on one of many puzzle room partitions, however as a substitute on one of many huge concrete constructions linked to the central tower. Search for a palm terminal pushing out right into a pond close to puzzle room no. 5. Standing on it, it’s best to be capable of look straight throughout the water and spot the swap on the wall.

Pull that and you’ve got accomplished the Sphinx puzzle and may return on your star.
West 1
Head to puzzle room no. 7 to search out the monument close by, obscured by timber. This one has one other diagram of cubes on it which can be each stuffed in and left empty.

To seek out the stone pillars it is advisable work together with for this puzzle, go to room no. 6. Going through the doorway, stroll round behind the puzzle room. The pillars are simple to search out, proper behind the puzzle room itself.

As earlier than, match the diagram to the pillars, activating the strong ones to decrease them, whereas leaving the empty ones standing. To orient your self with the plaque picture, it is advisable be going through east. Activate the lone pillar, the one furthest east; of the 2 to the fitting of that pillar, activate the one furthest east, closest to the primary one you activated; to the left of the primary pillar, you will discover one other pair, the place you will need to activate the one on the fitting, which is the southernmost of the 2; and at last, of the 2 pillars furthest west, activate the one on the fitting, which is the westernmost of the 2.
West 3
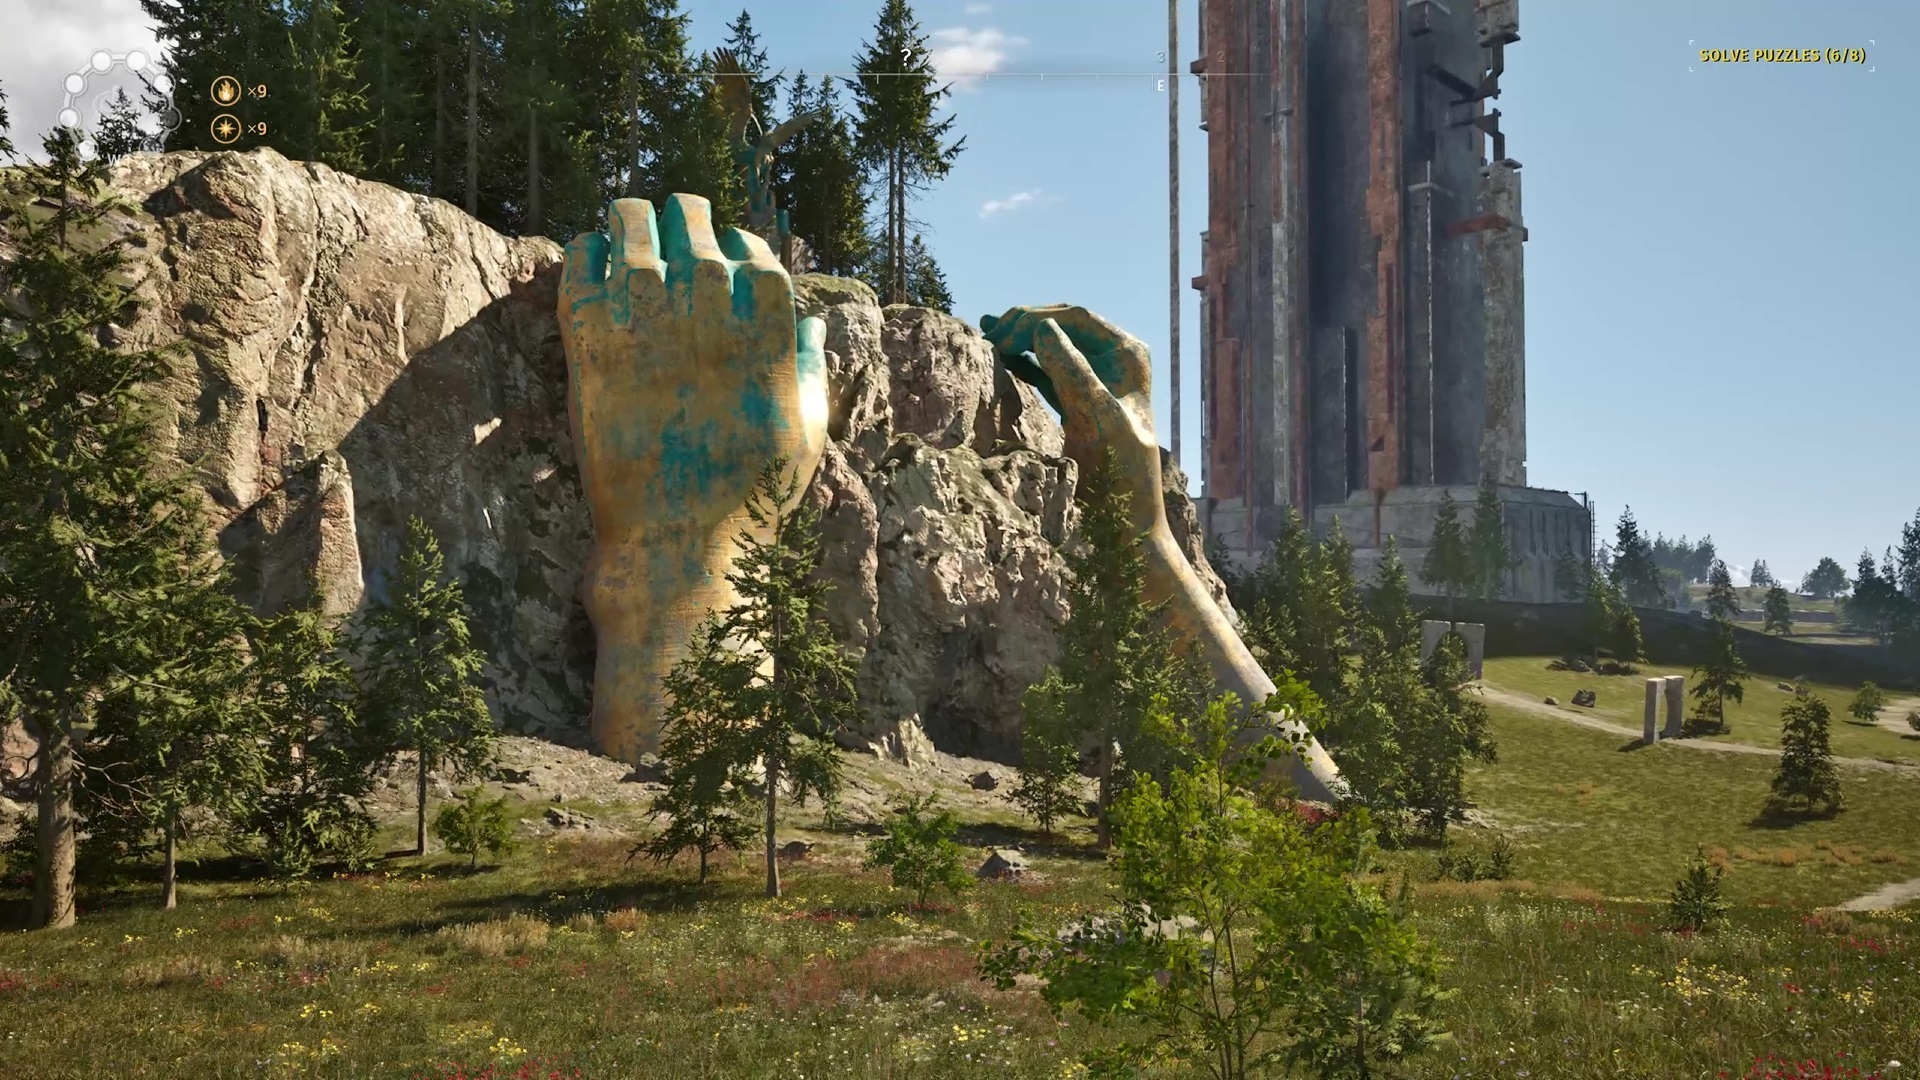
The ultimate Sphinx monument is towards the north finish of this space. Search for a pair of huge statue fingers protruding of the bottom and grabbing onto a ridge. The Sphinx is on prime, between the fingers. On its plaque, you will discover a picture that marks an X in one of many spherical areas, close to one other sequence of giant statue fingers.
That space is pretty simple to find–it’s the part surrounding puzzle room no. 8. From the doorway, flip round and face the way in which you simply got here. For those who’re trying on the amphitheater-like ring that is surrounding the puzzle room, you will see it is divided on occasion by a big angled piece of concrete that stretches all the way down to the trail, creating the look of sections. You need the subsequent part of the ring to your left with the puzzle room at your again.

Whenever you attain the fitting part, make your method into one of many hole areas within the outer ring to search out the swap hidden towards the wall.

With the ultimate swap thrown, you’ve got accomplished all the Sphinx puzzles in The Talos Precept 2. There are nonetheless extra stars to search out, nevertheless, so take a look at our Pandora monument puzzles information for extra assist. You must also learn our overview of The Talos Precept 2 whilst you’re at it.
The merchandise mentioned right here have been independently chosen by our editors.
GameSpot could get a share of the income for those who purchase something featured on our website.
[ad_2]