
[ad_1]
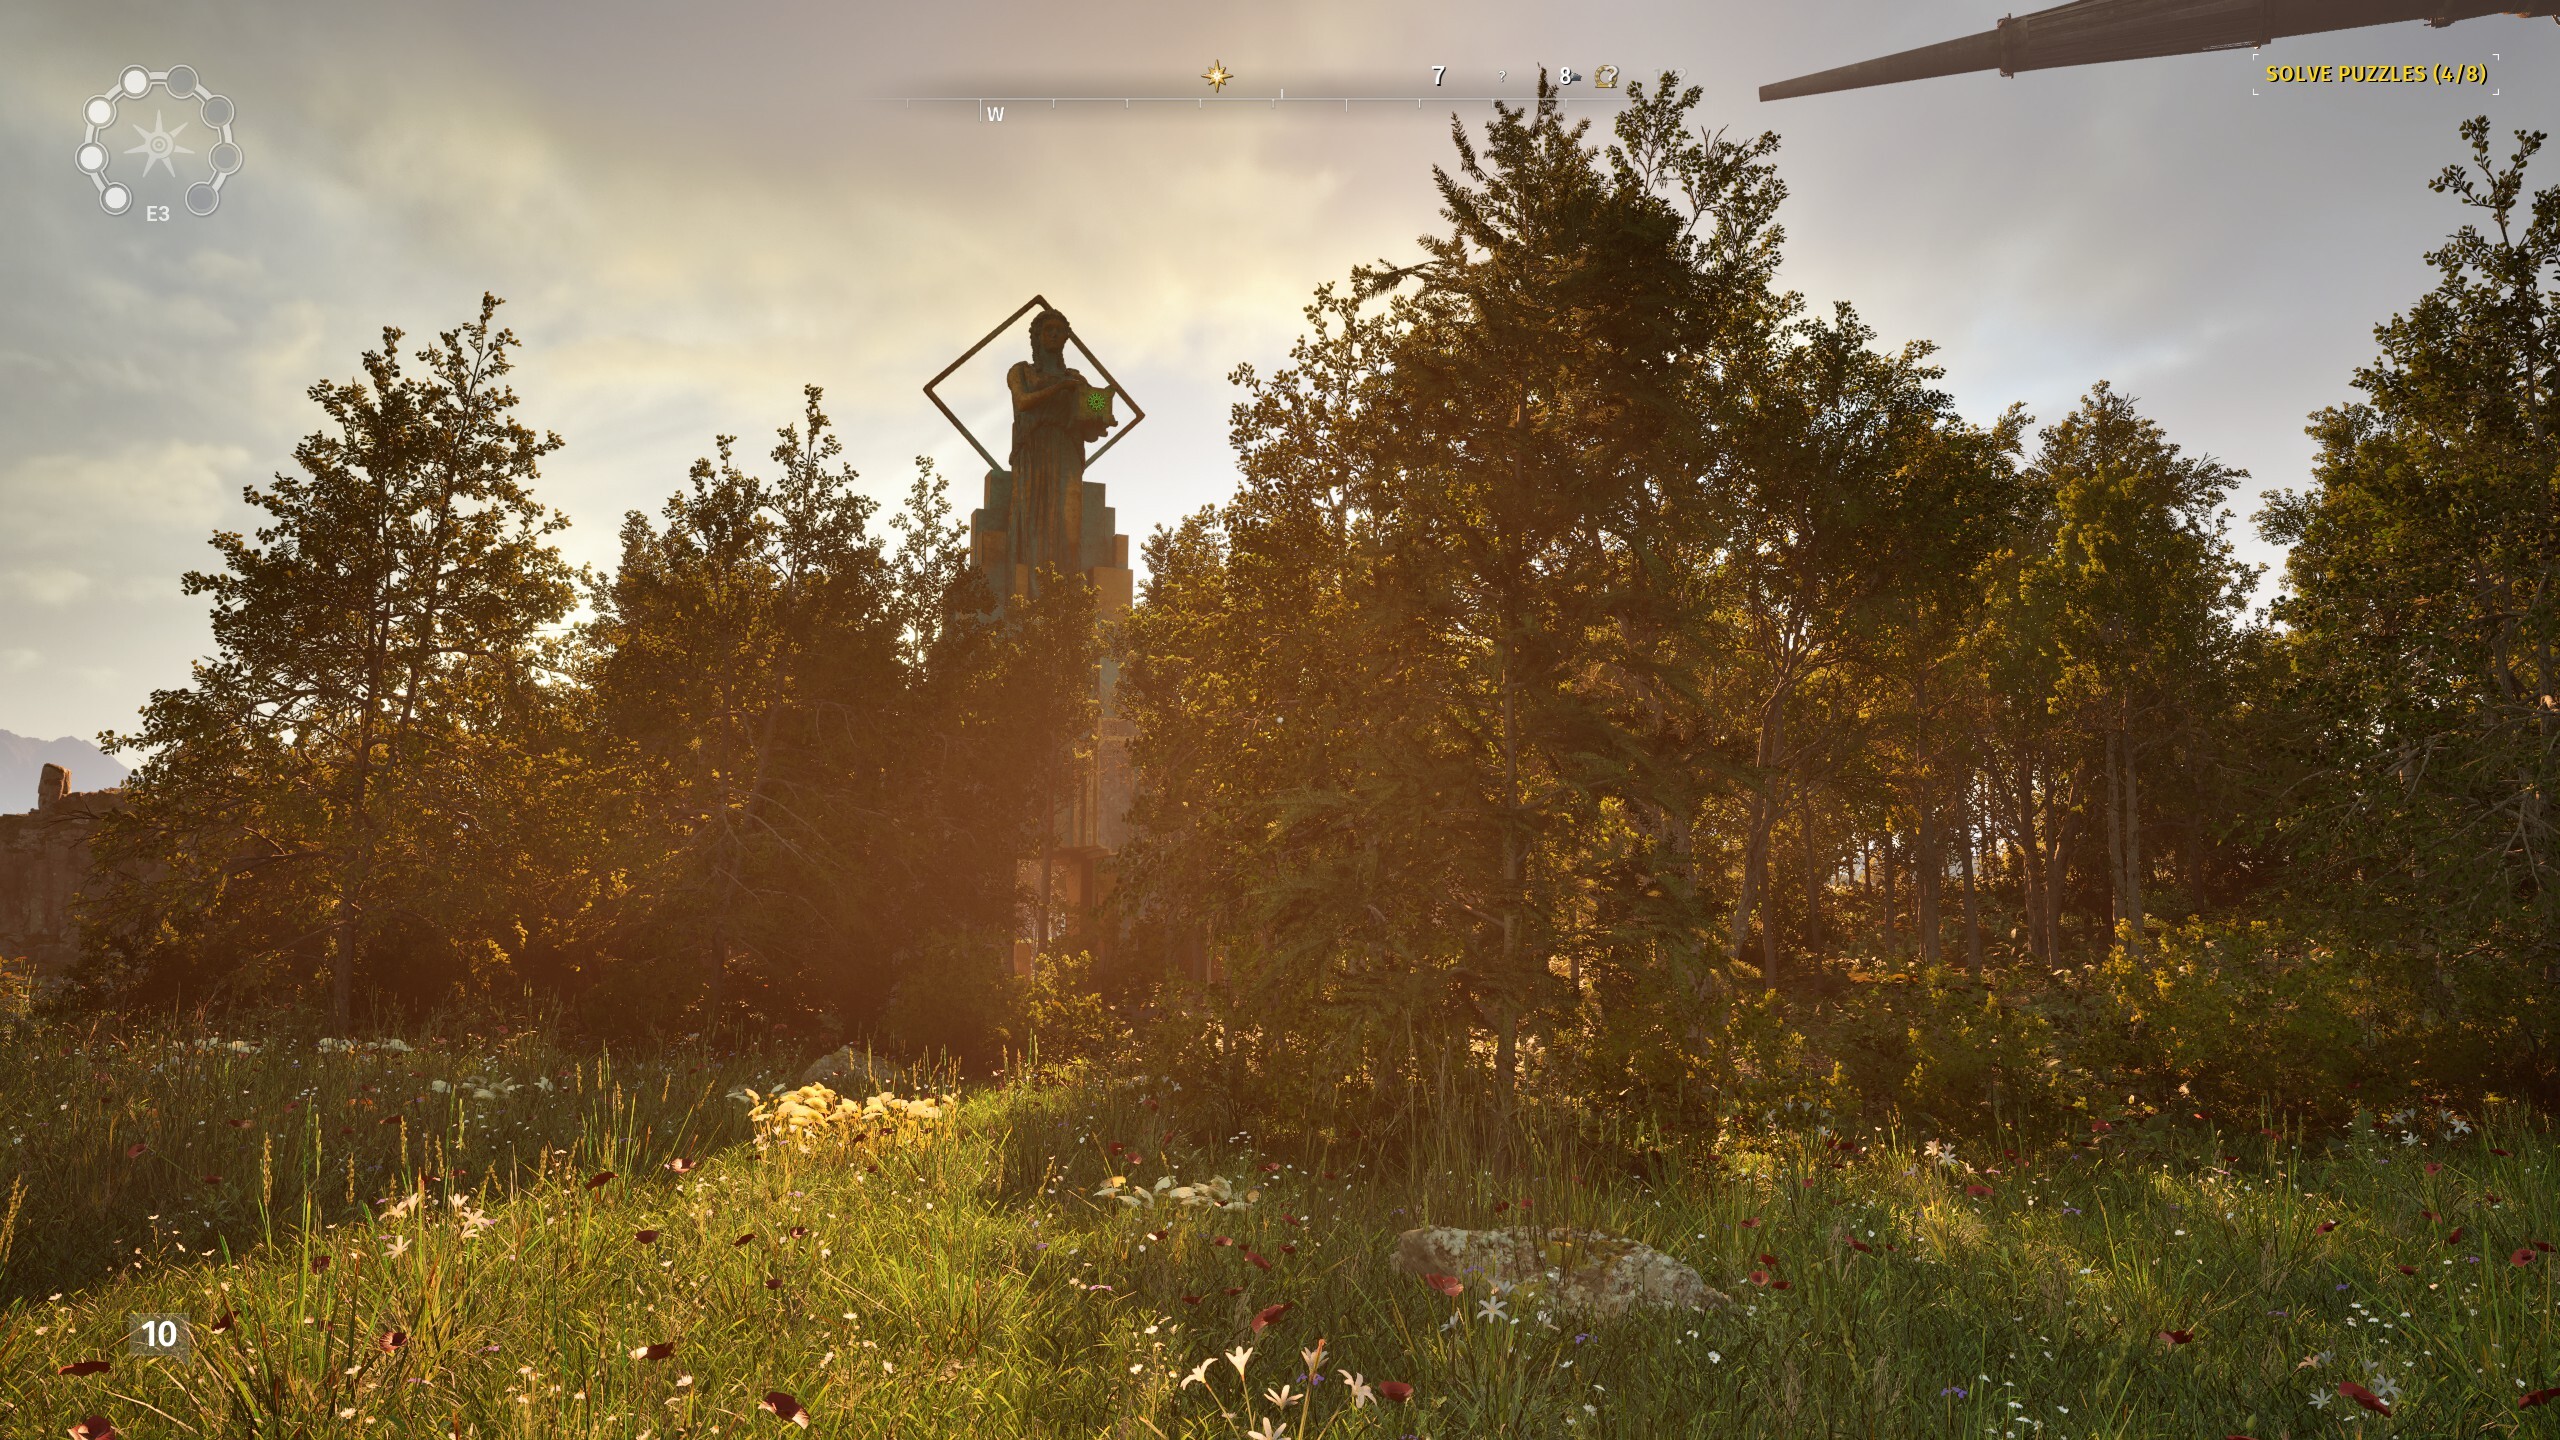
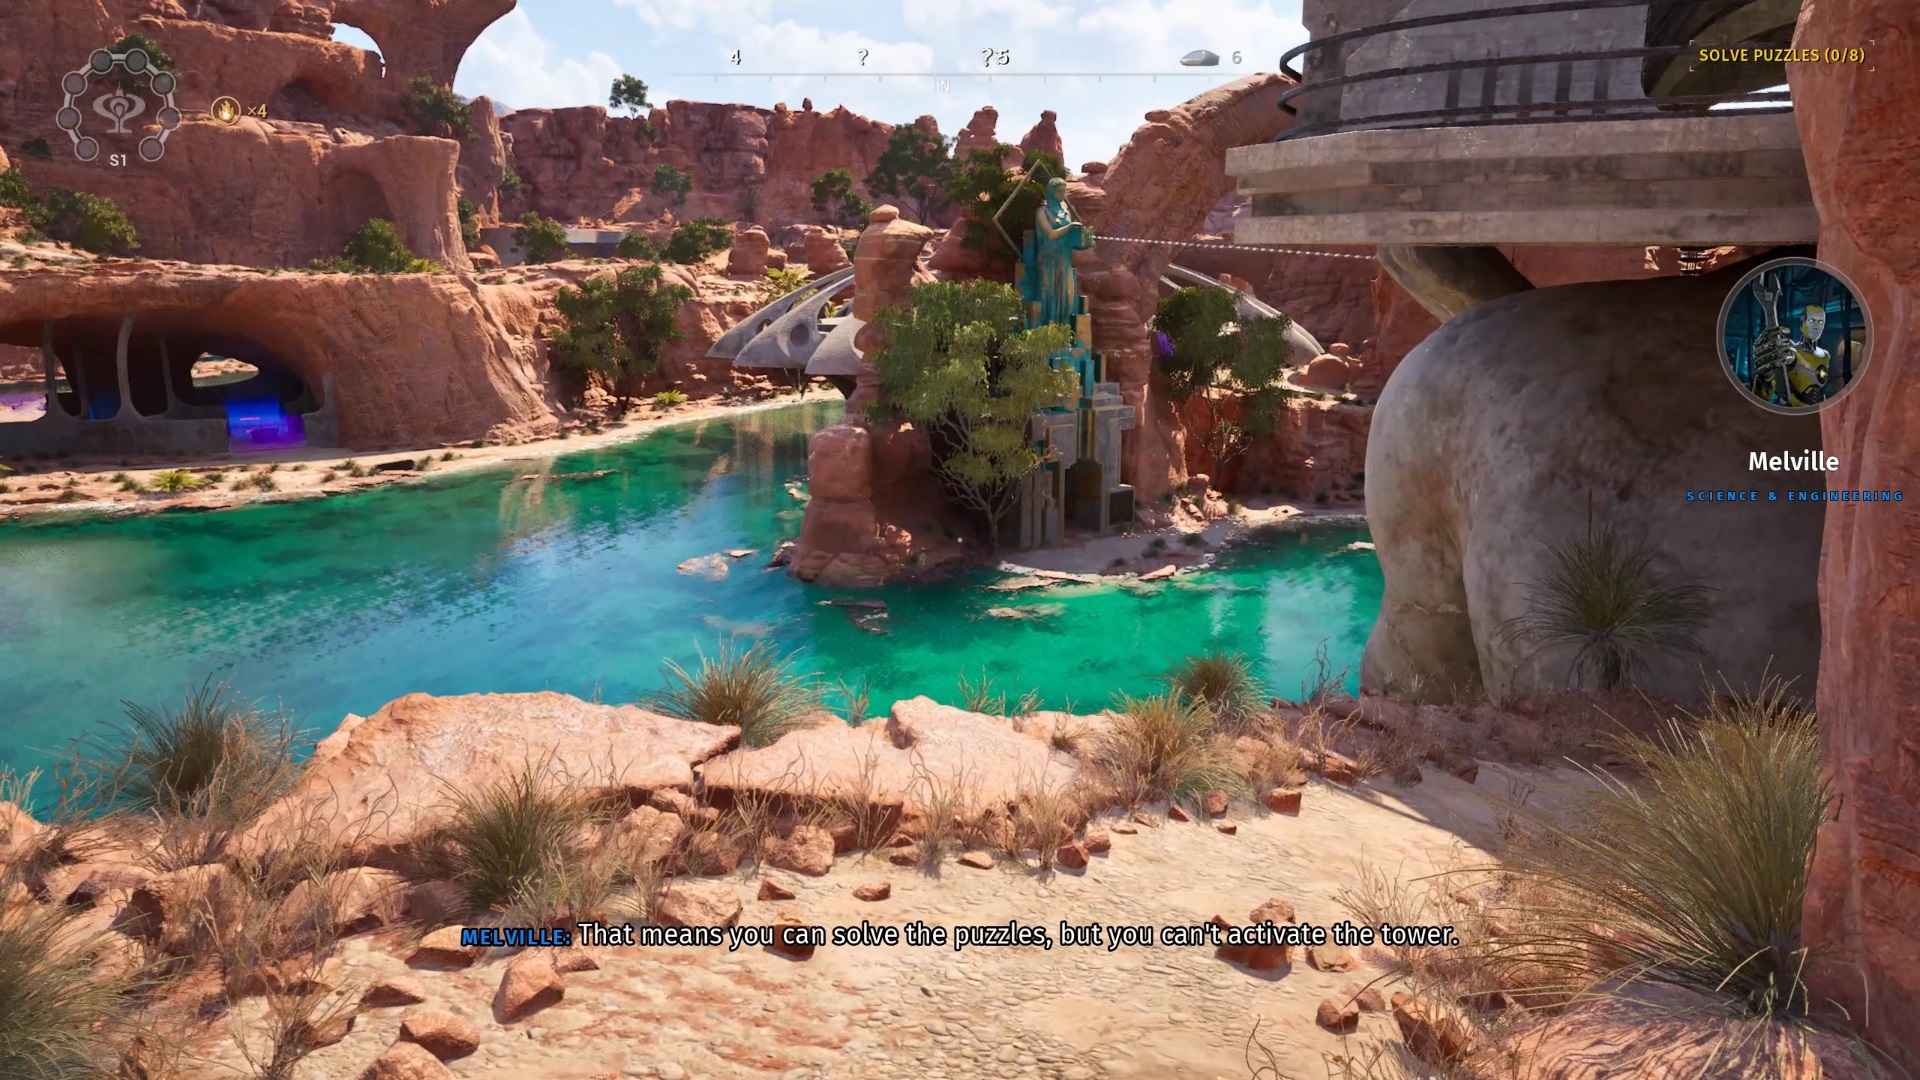
There are an entire lot of puzzles in The Talos Precept 2, and a few of them aren’t apparent. Hidden in every of the sport’s 12 principal areas are two statues that carry puzzles of their very own, every depicting both Pandora, Prometheus, or the Sphinx. Fixing these aspect puzzles unlock further secrets and techniques within the recreation, however they are often powerful to master–some are among the many most troublesome The Talos Precept 2 has to supply.
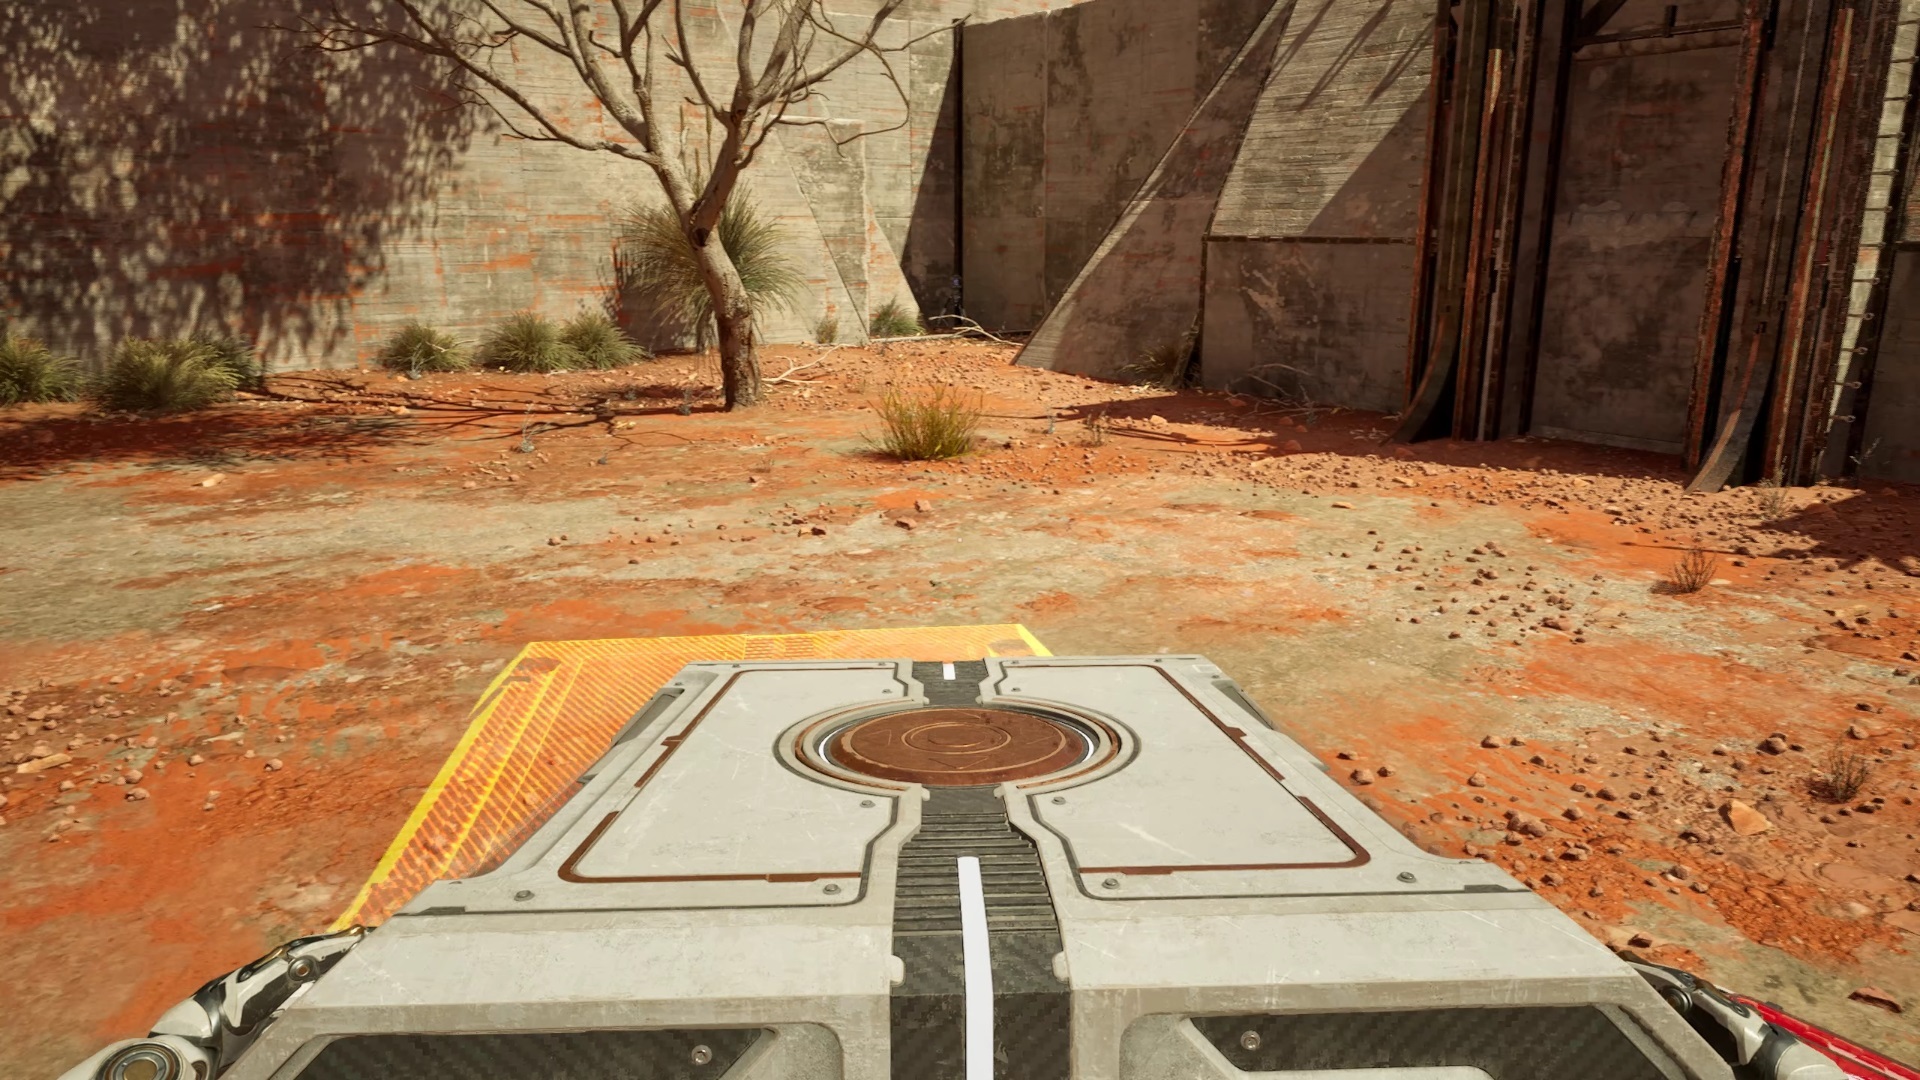
Of all the key puzzles, the Pandora statues are usually probably the most vexing. They require you to attach a laser beam to the statue to unravel them, and normally want you to assume exterior the conventional puzzle rooms. All of the options would require you to make use of instruments from a number of rooms along with issues hidden within the surroundings to unravel them.
This is a whole information to fixing each one of many Pandora statues that can assist you declare the celebs and unlock a few of The Talos Precept 2’s greatest mysteries.
East 1

You will discover the Pandora statue to the fitting of the bridge ring at the beginning of this space, close to the No. 8 puzzle room. The Pandora statue has a inexperienced laser receiver on it, so you may want a inexperienced beam to activate it. The excellent news is that there is one very shut by.
Head to puzzle No. 8. It is best to unravel the puzzle room first, which can deactivate all of the forcefields. You want the crystal tripod, the RGB Converter, and the hexahedron (the dice).
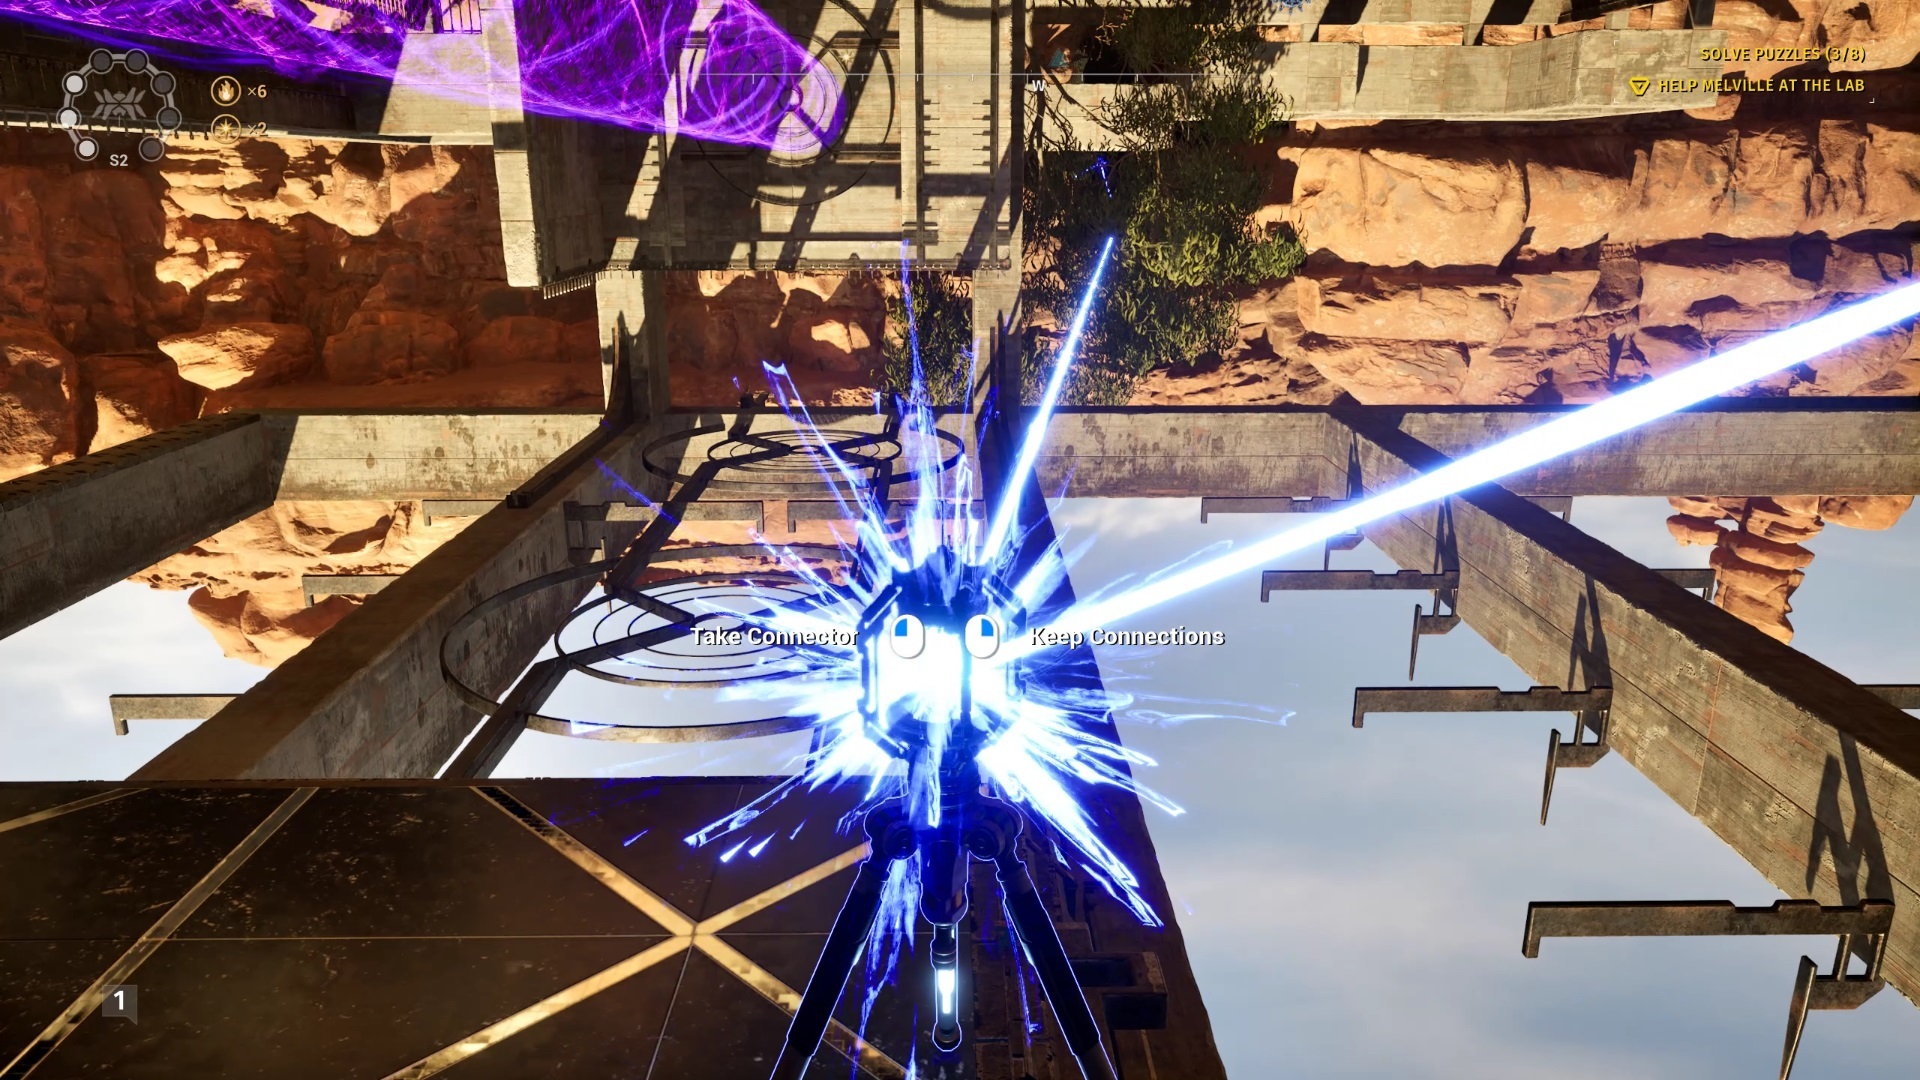
Join the crystal to the crimson beam and set the crystal within the middle of the world so you may ship the crimson beam towards the fan on the far finish of the puzzle space. Head over to the fan and flip the swap to deactivate it. Place the hexahedron on the deactivated fan, then seize the RGB Converter. Join it to the blue beam and the crimson crystal to show it inexperienced.

With the RGB Converter in hand, join it first to the inexperienced receiver subsequent to the fan. Now look over the outside wall of the world. You need to be capable of spot Pandora from right here. Join the RGB Converter to the inexperienced receiver on Pandora’s field. Lastly, place the RGB Converter on prime of the dice.

Flip the swap on the fan and the RGB Converter ought to stand up into the air, finishing the connections and fixing the Pandora puzzle. Return to the statue to snag a Star.
East 2
The Pandora statue on this case is close to the no. 7 puzzle, however you may begin at puzzle no. 3. Use the RGB Converter right here to create a inexperienced beam. You will want to make use of the Quantum Driller to get entry to one of many coloured lasers, and the 2 crystal Connectors to ship over the opposite.
Upon getting connections to the RGB Converter, look out the doorway you entered by way of and it is best to see one other Connector protruding of the triangular archway simply past the doorway to the puzzle. Join the RGB Converter to it to ship a inexperienced laser bouncing throughout the entire space.
Observe the inexperienced laser all the best way again towards Pandora and puzzle no. 8. Whenever you get inside 8, it is best to be capable of look over the aspect wall and see the inexperienced laser hitting the Connector caught in a rock close by.
Seize a Connector from contained in the puzzle and use it to attach the inexperienced beam to the Pandora inexperienced receiver to complete the puzzle.
East 3
Pandora waits for you close to the no. 6 and seven puzzle rooms and requires a inexperienced laser. For those who search for as you make your manner by way of this space, you may see a dotted line crossing overhead, indicating a sequence of unpowered Connectors. Following the road offers you a clue the place to begin.
Head to puzzle no. 3, the place you may discover an Invertor and an RGB Converter. Use the Inverter on the crimson laser emitter to create a blue laser and join it to the RGB Converter, then join the RGB Converter to crimson emitter to create a inexperienced laser. Look over the wall close to the fitting nook of the room and it is best to be capable of spot the Connector on the finish of the dotted line you adopted to get right here.

That ought to ship a inexperienced laser all the best way again throughout the island, identical to in East 2. Observe the inexperienced line all the best way again towards Pandora and head to puzzle no. 6.

Inside, use a Connector to seize the inexperienced laser from the Connector on the finish of the road, which stands on a tower, and bounce it to the Pandora statue.
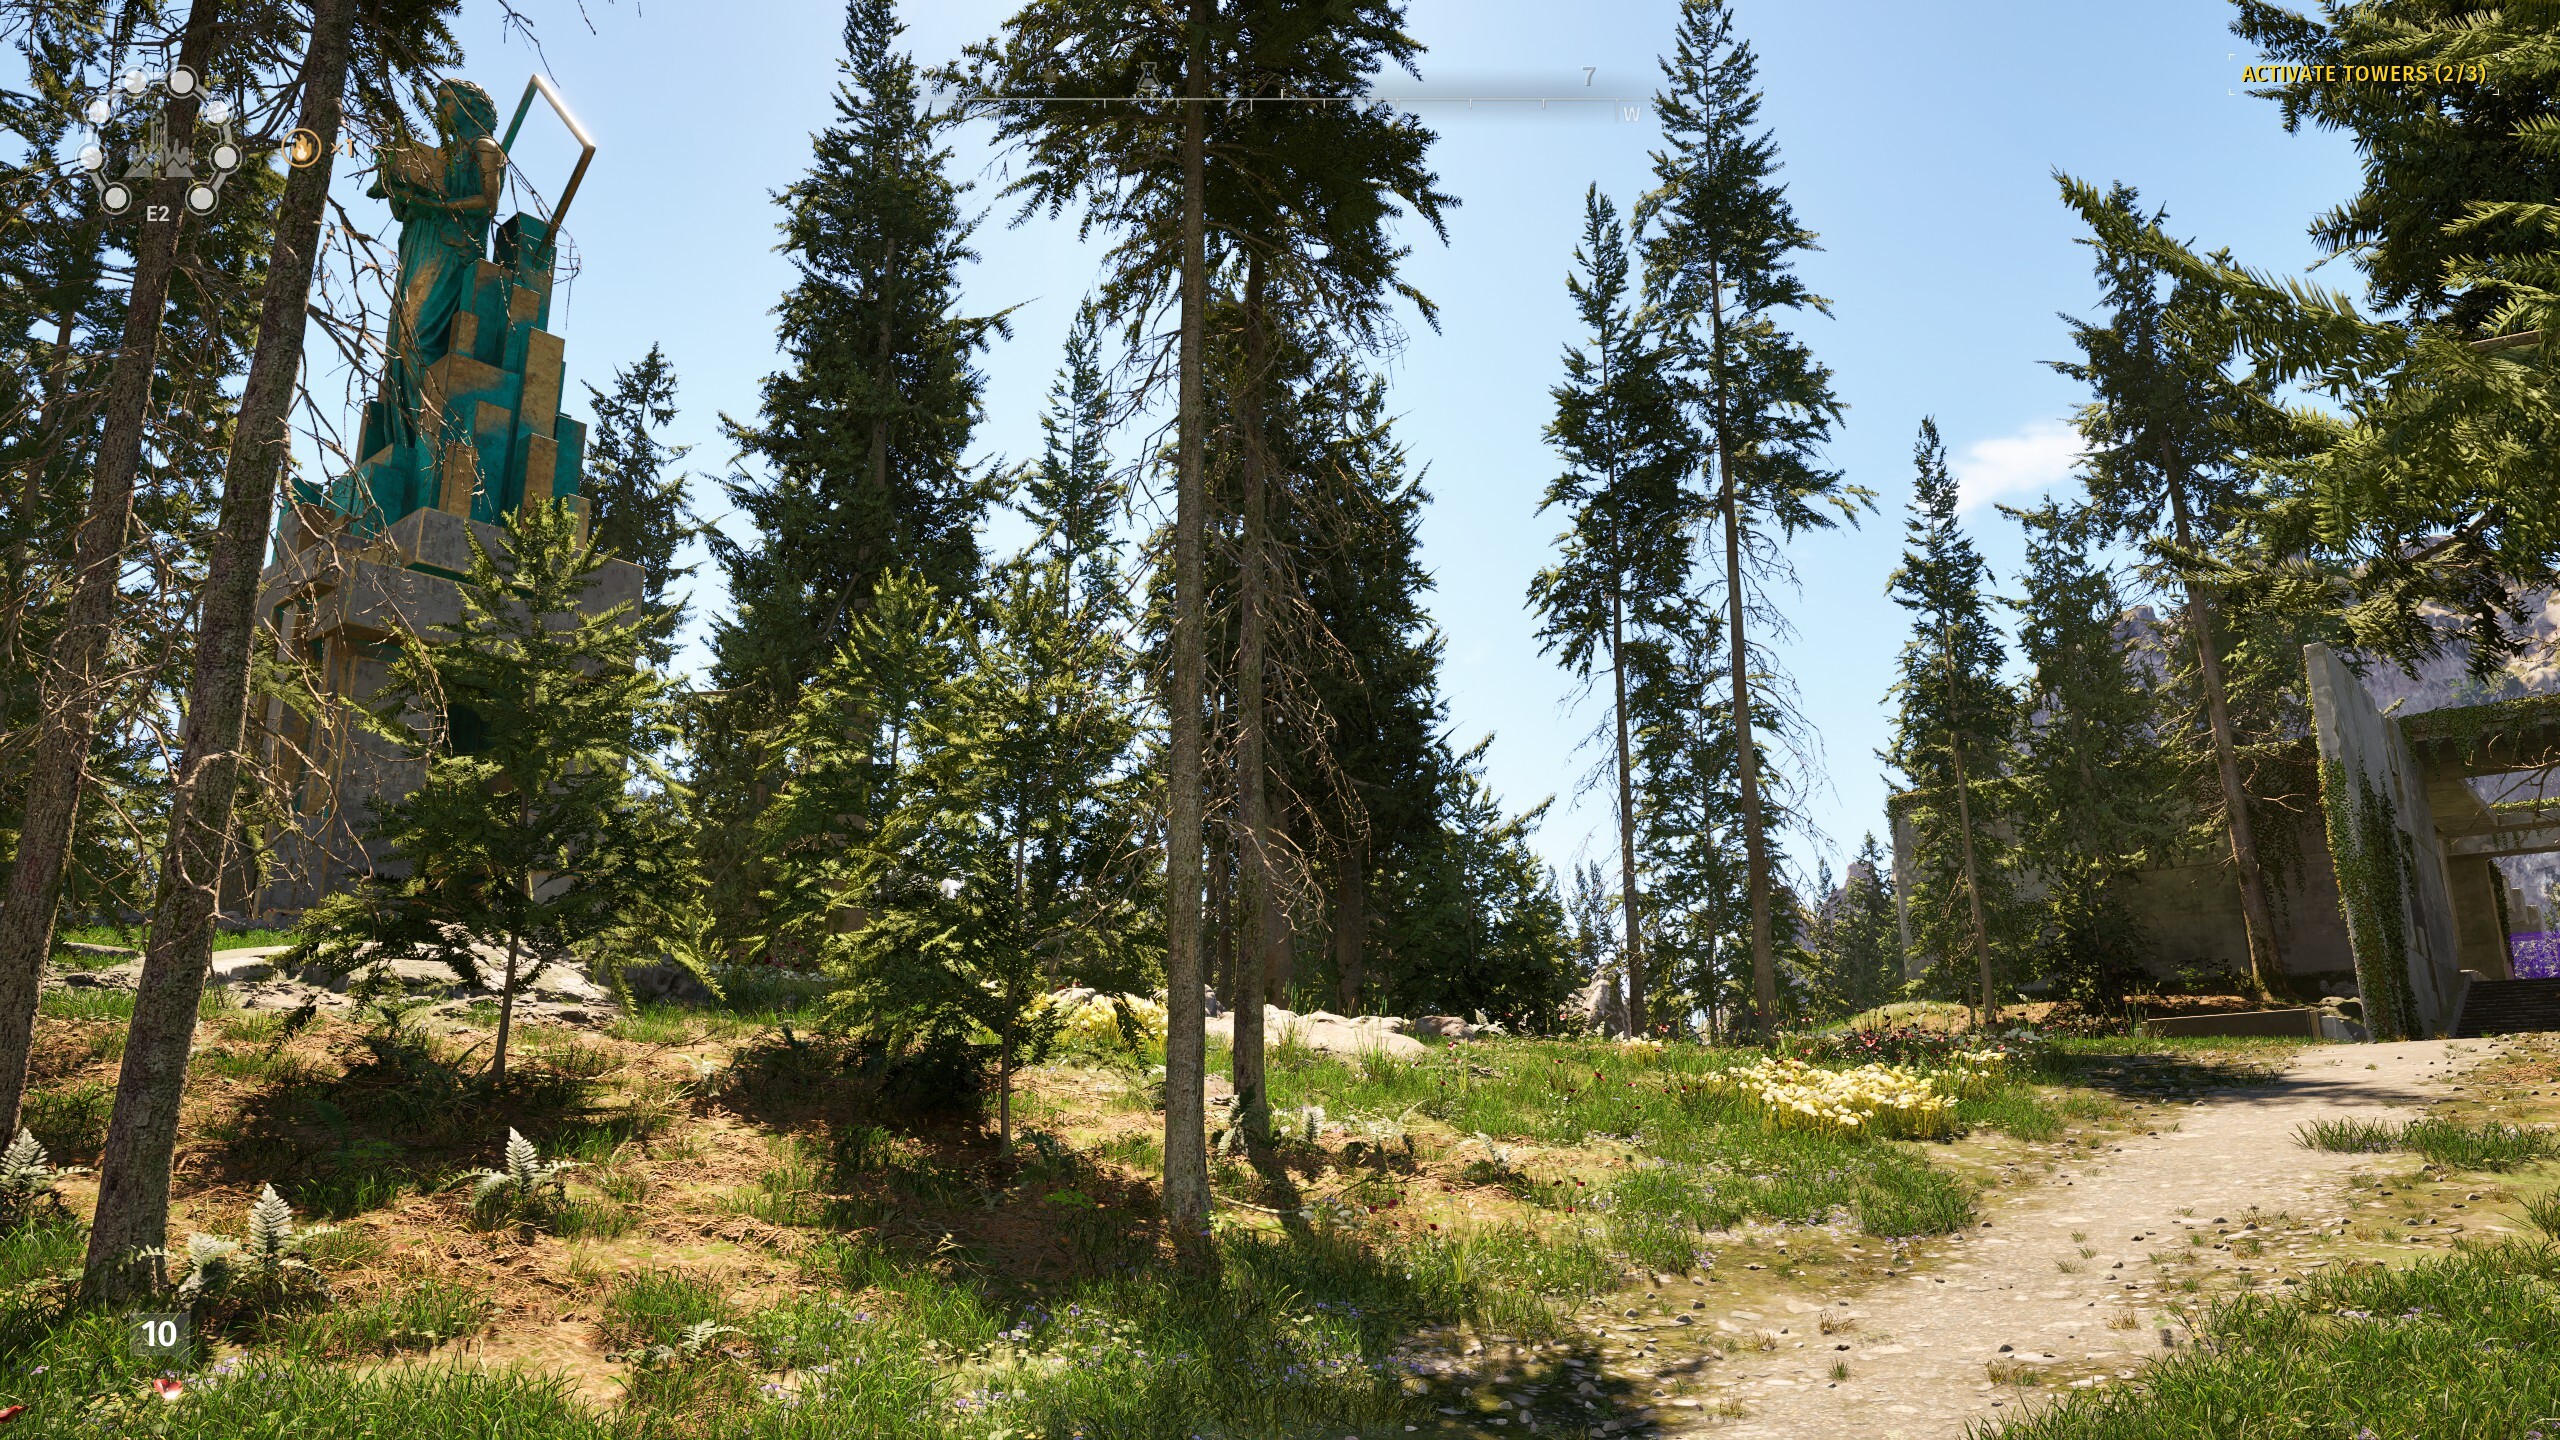
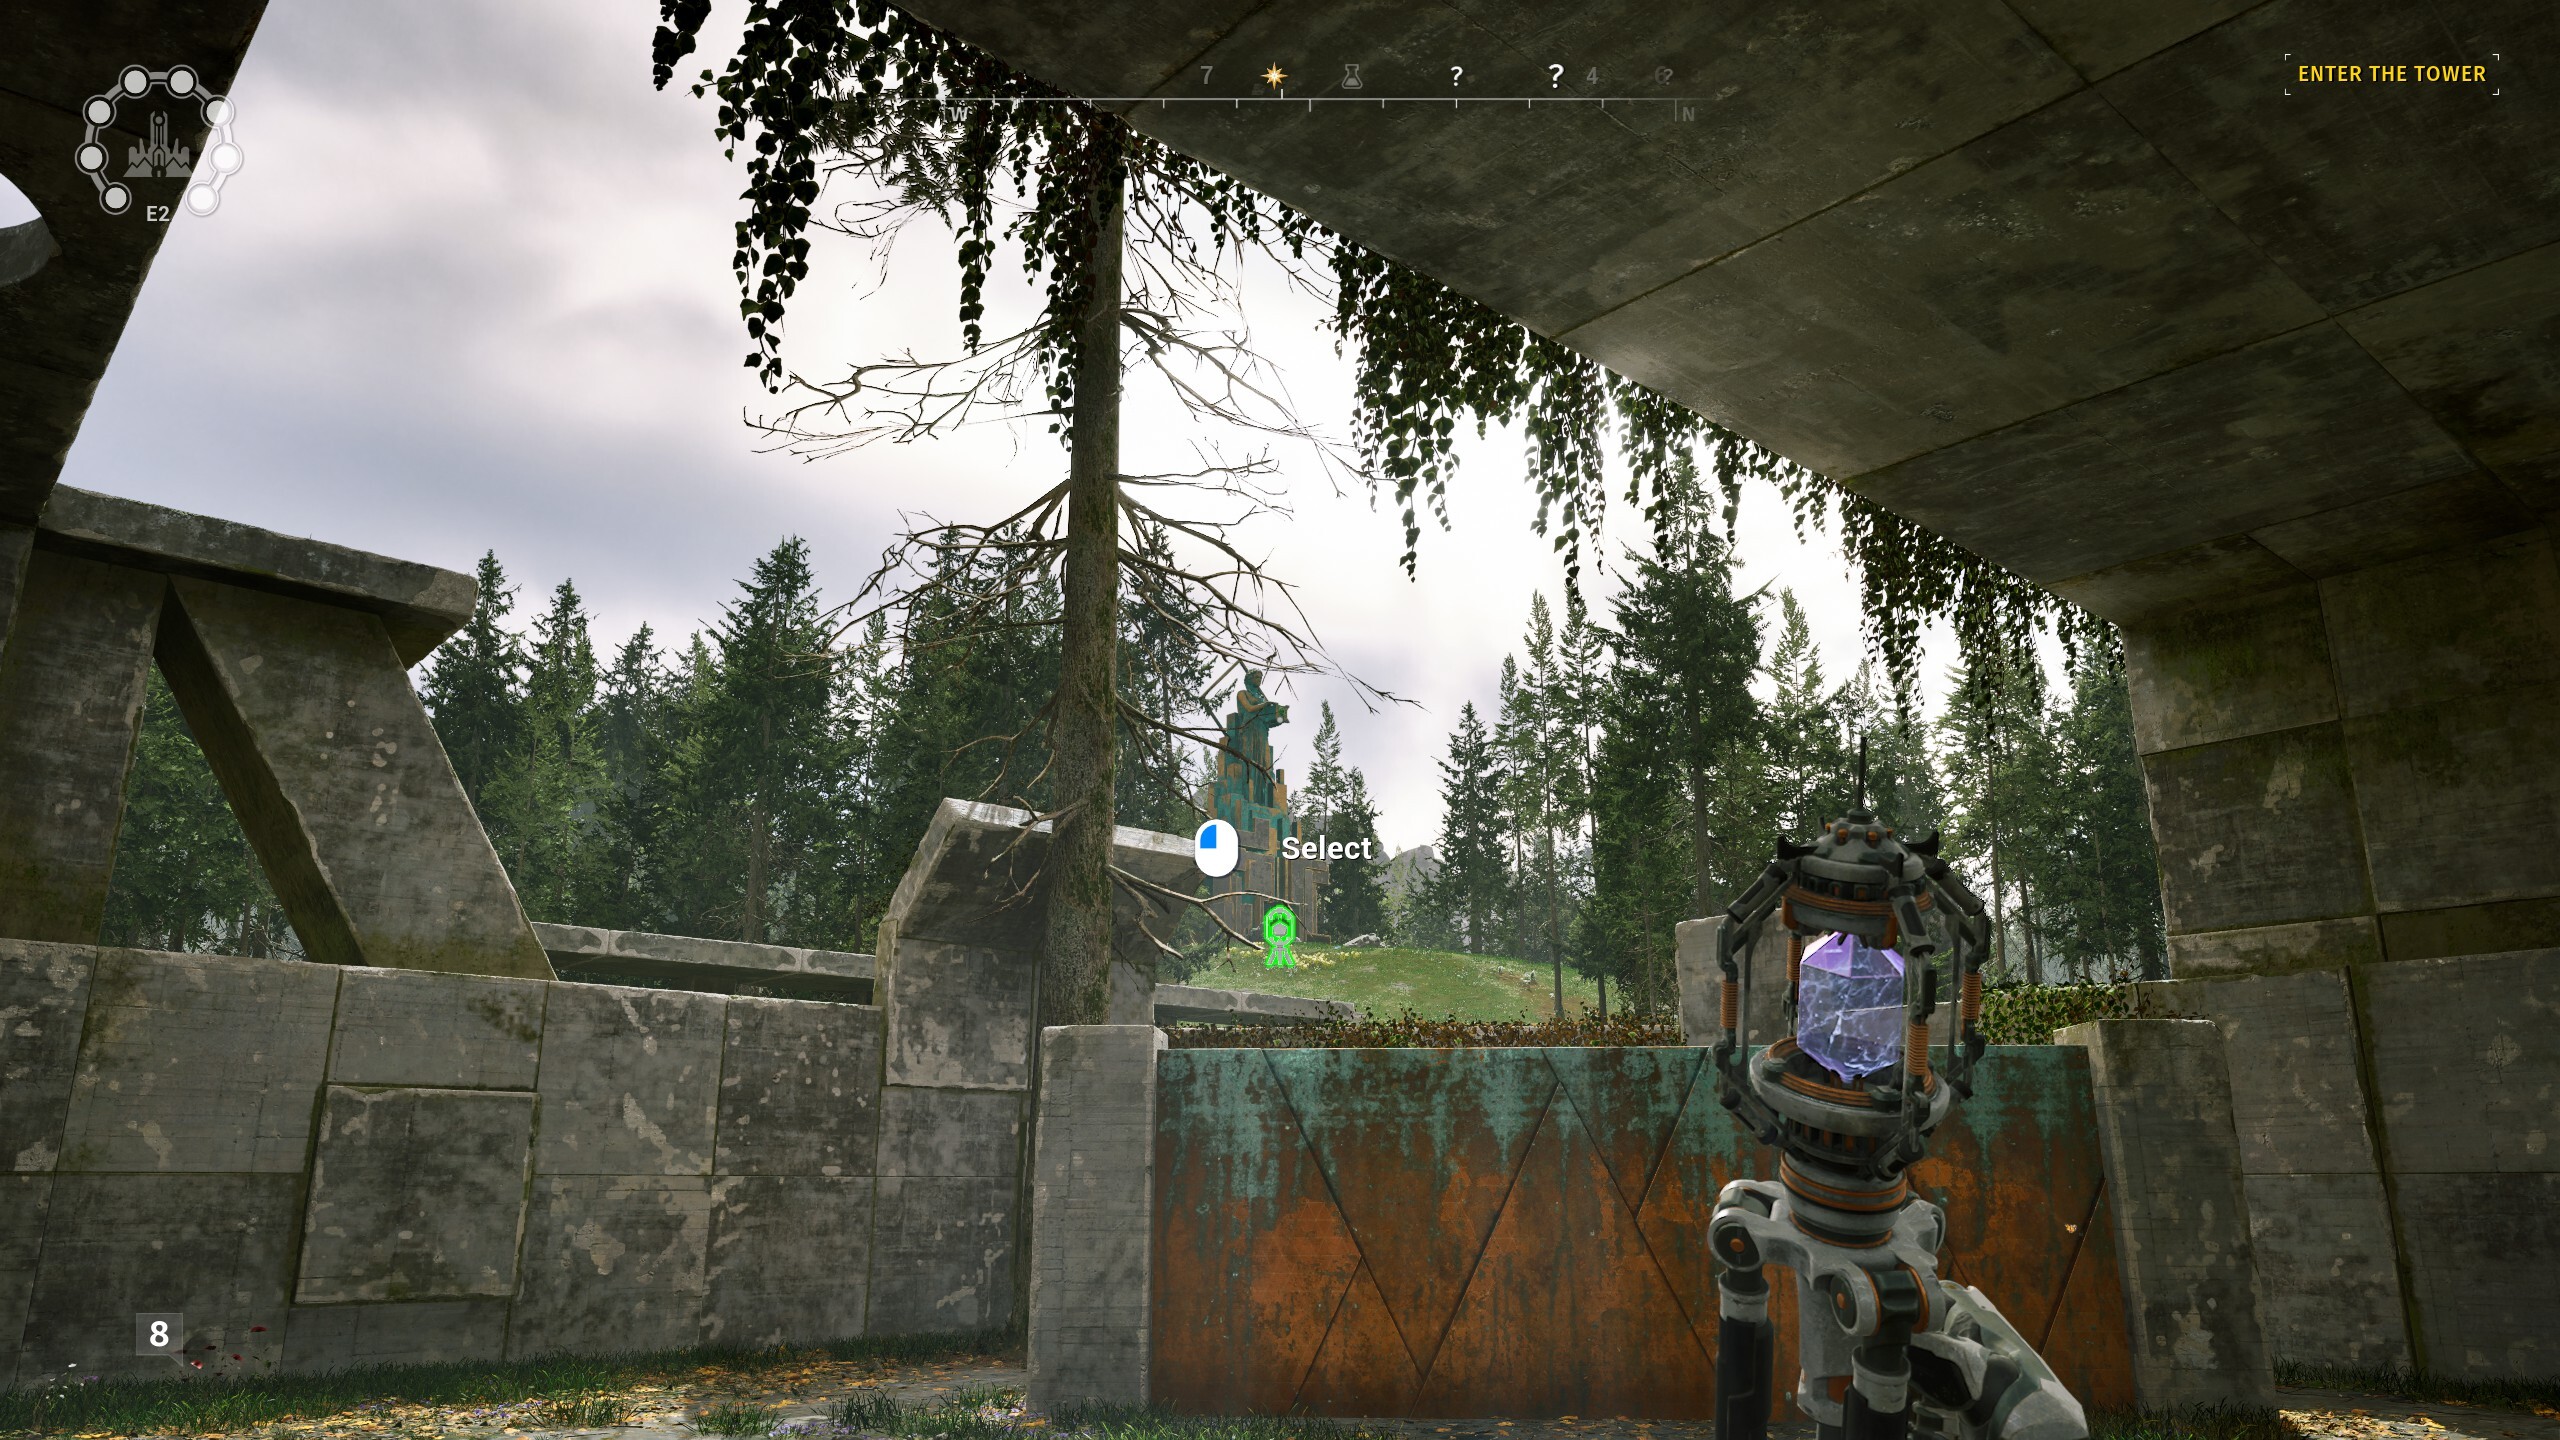
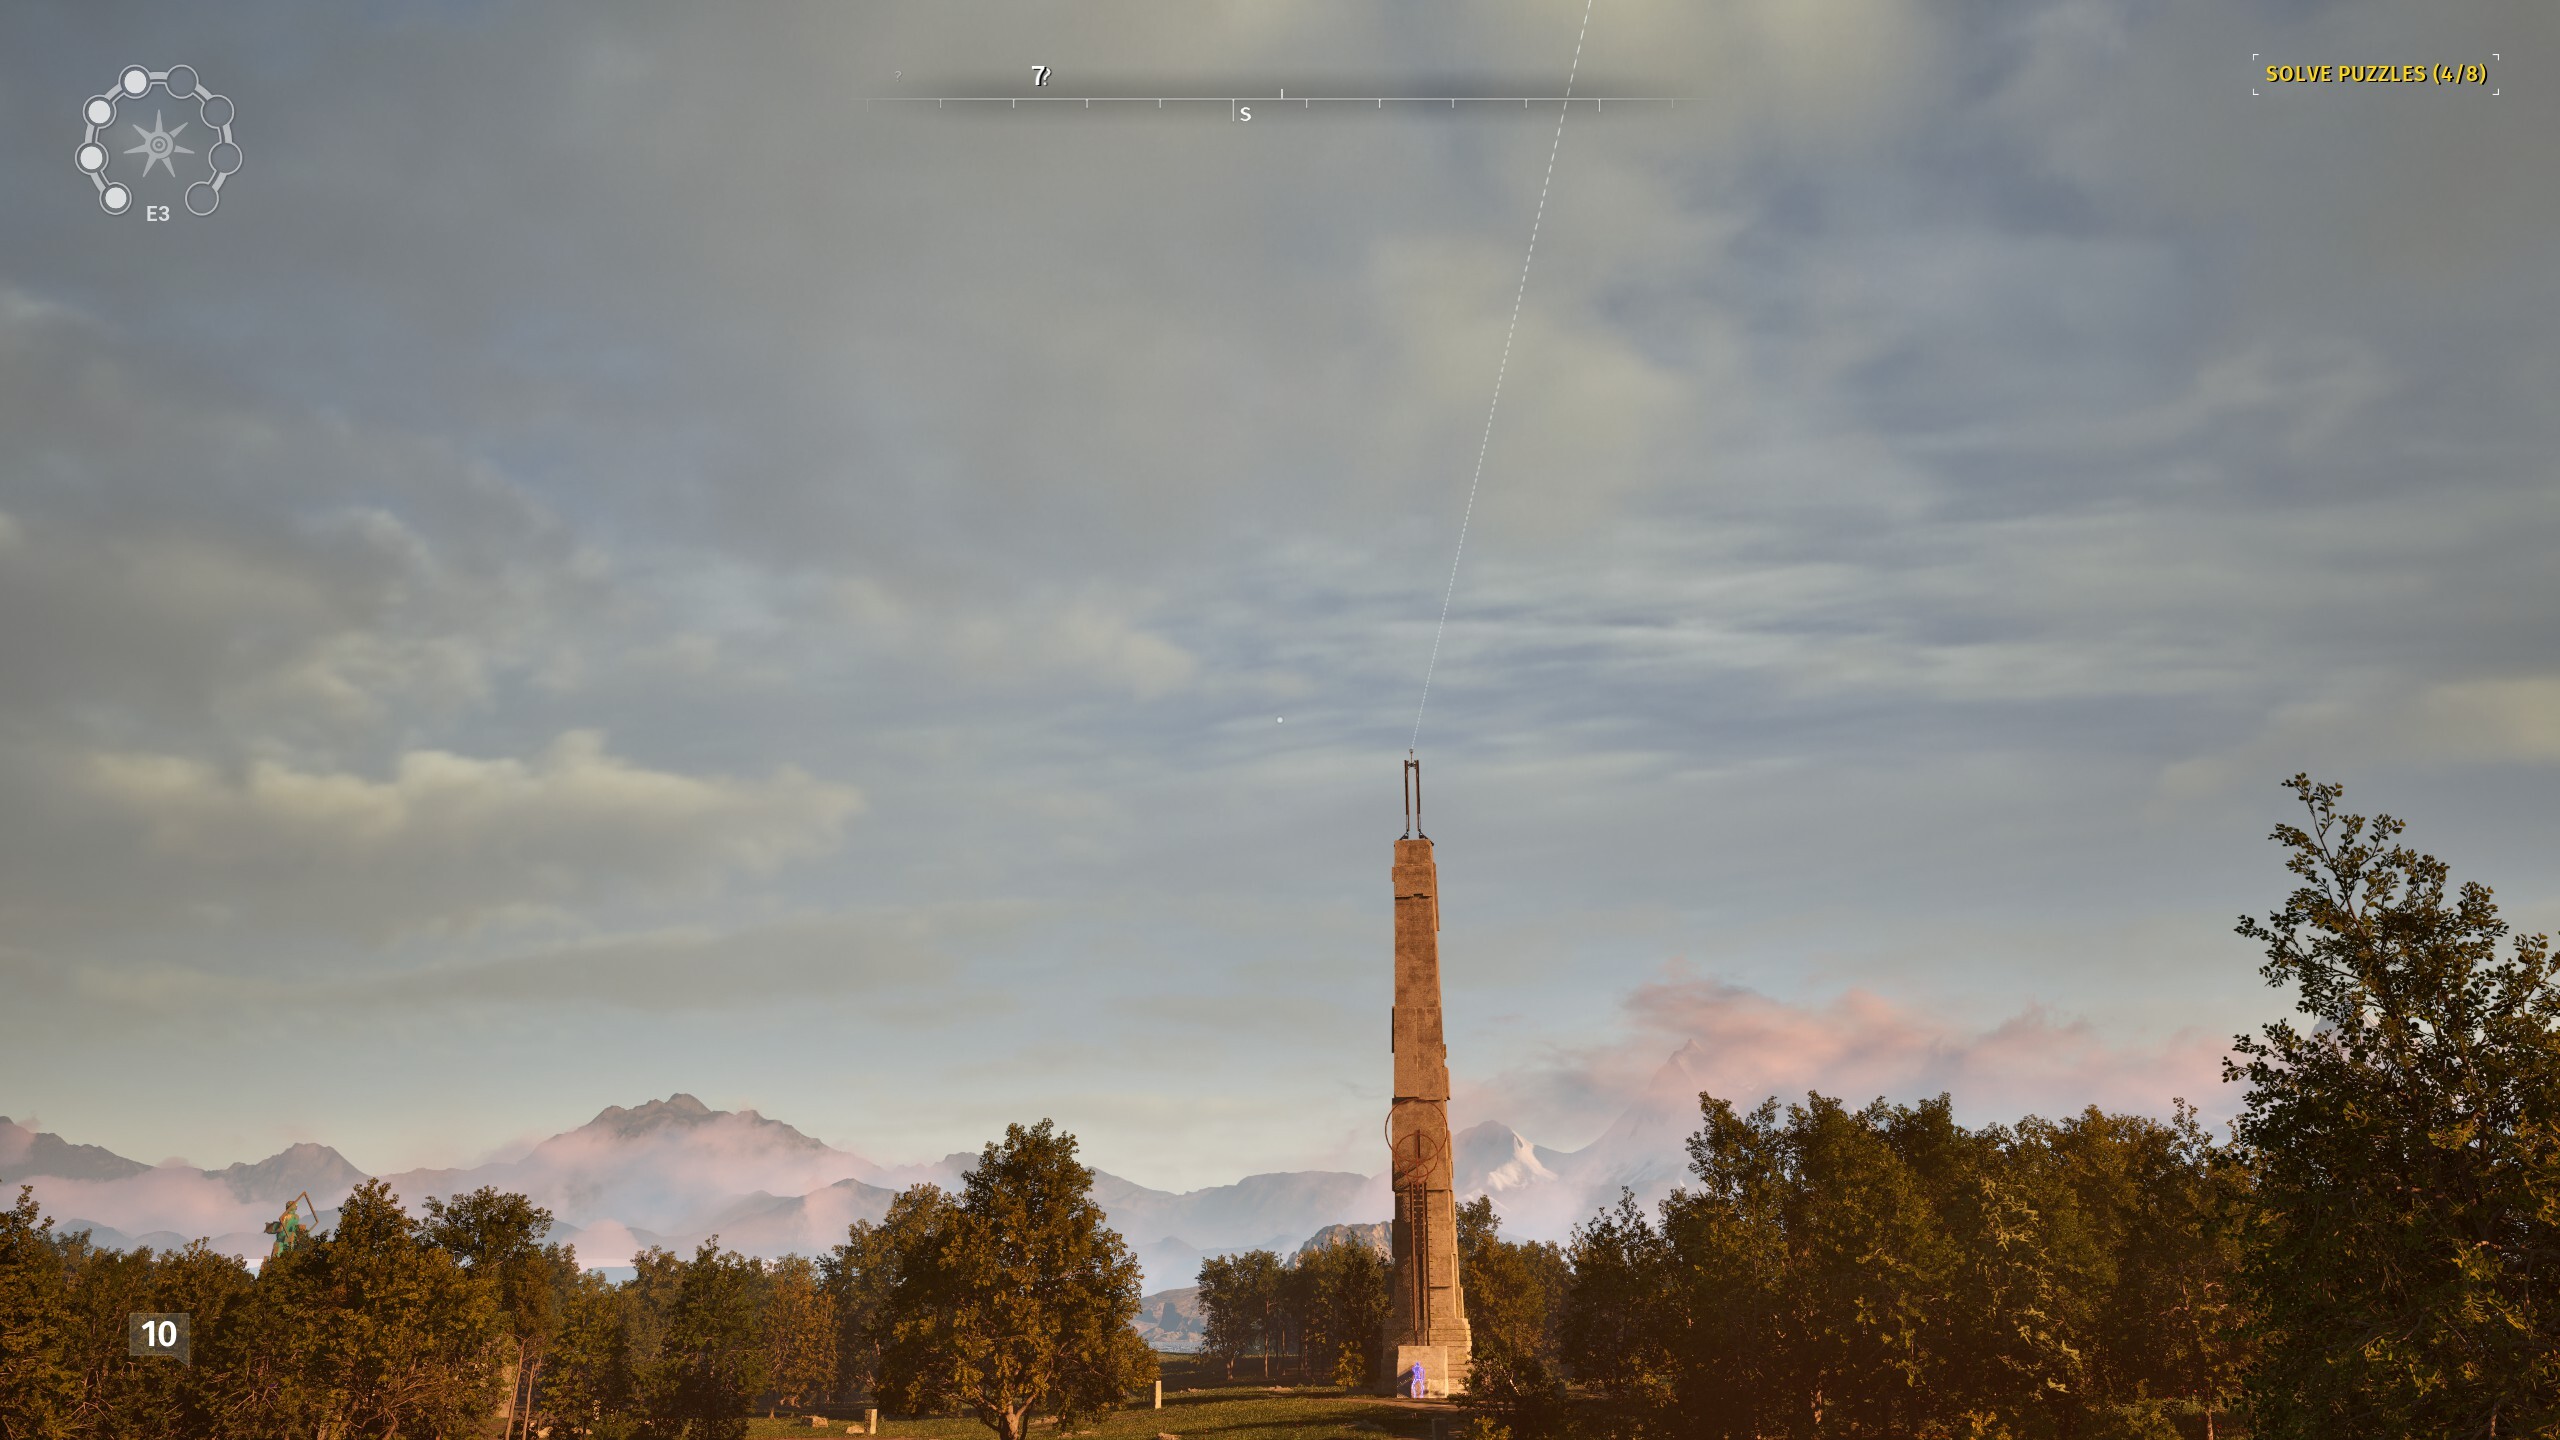
North 3

You will discover the Pandora statue subsequent to the no. 3 puzzle room. As soon as once more, you are going to have to bounce beams from different areas so far. The factor you may want to notice right here is the RGB Converter that is on prime of a tower to the left of the Pandora statue. You will want that to create the inexperienced beam wanted to complete the puzzle.
First, head to puzzle no. 2, which is in the back of the Pandora statue. As common, you may wish to have solved this room already with the intention to have full entry to the instruments. Use the fan to seize the dice on the ledge above it, then swap it for the Accumulator. Journey the fan as much as the ledge and join the Accumulator to the blue beam, then drop it so it takes the cost. Decide it again up once more and purpose it on the RGB Converter on the tower past the fitting nook of the puzzle room. It may be powerful to identify, however having the Accumulator in-hand ought to make discovering the connection simpler. Drop the Accumulator on the ledge with the beam related.

For the crimson beam, you may want increased floor. Make your method to puzzle no. 5. Swap an merchandise for the Accumulator and use it to seize the crimson beam. Discover the RGB Connector on the tower over the wall subsequent to the crimson beam emitter and make the connection.
Now return to puzzle no. 3. You’ll want to join the inexperienced beam created by the RGB Converter to the Pandora statue. Discover the Connector that is bouncing a crimson beam across the puzzle room. You will not be capable of hit your targets from this aspect, nonetheless. Head again towards the doorway of the room and seize the dice, then swap it for the Quantum Drill. Purpose the Drill on the wall and cross the Connector by way of the opening. Run round to the opposite aspect and seize the Connector.
From right here, you may goal each the Pandora statue and the RGB Converter to complete the puzzle.
South 1
Leaving the transit hub, you may spot this Pandora statue proper beside the beginning space as you come down the winding path close to the tetromino bridge ring. You also needs to discover straight away that it has a dotted line related to it, indicating that you’ll ship a inexperienced beam by way of some close by Connectors.
Begin at puzzle no. 2. Whenever you’ve accomplished it, look off the aspect of this raised space to the north, to the fitting of the picket bridge you used to enter the puzzle. You need to see a wall beneath you, throughout the water, the place a Quantum Drill could make a gap. Zap a gap in it to disclose a inexperienced laser emitter hidden behind it. Seize a Connector from this similar puzzle and join with the inexperienced emitter, then search for for a rock spire above the emitter. On the prime, it is best to see one other Connector. Bounce the inexperienced laser as much as that Connector.
Subsequent, you may have to go to puzzle no. 4, which is close to no. 2 and barely beneath it. Inside, seize a Connector and search for towards no. 2 to identify the inexperienced Connector protruding of the rock tower. Hook up with it and switch towards the transit station. Beneath the flat platform, simply to the left of the massive statue hand that is holding it up, is a Connector, protruding and pointing downward.
Bounce the inexperienced laser to that Connector and it will proceed to the Pandora statue to finish the puzzle.
South 2
Search for the Pandora statue in an alcove to the west of the place you first begin on this space, close to one of many bonus puzzle rooms. This one takes some work to get finished, because the inexperienced receiver on Pandora is going through away from mainly every little thing within the space.
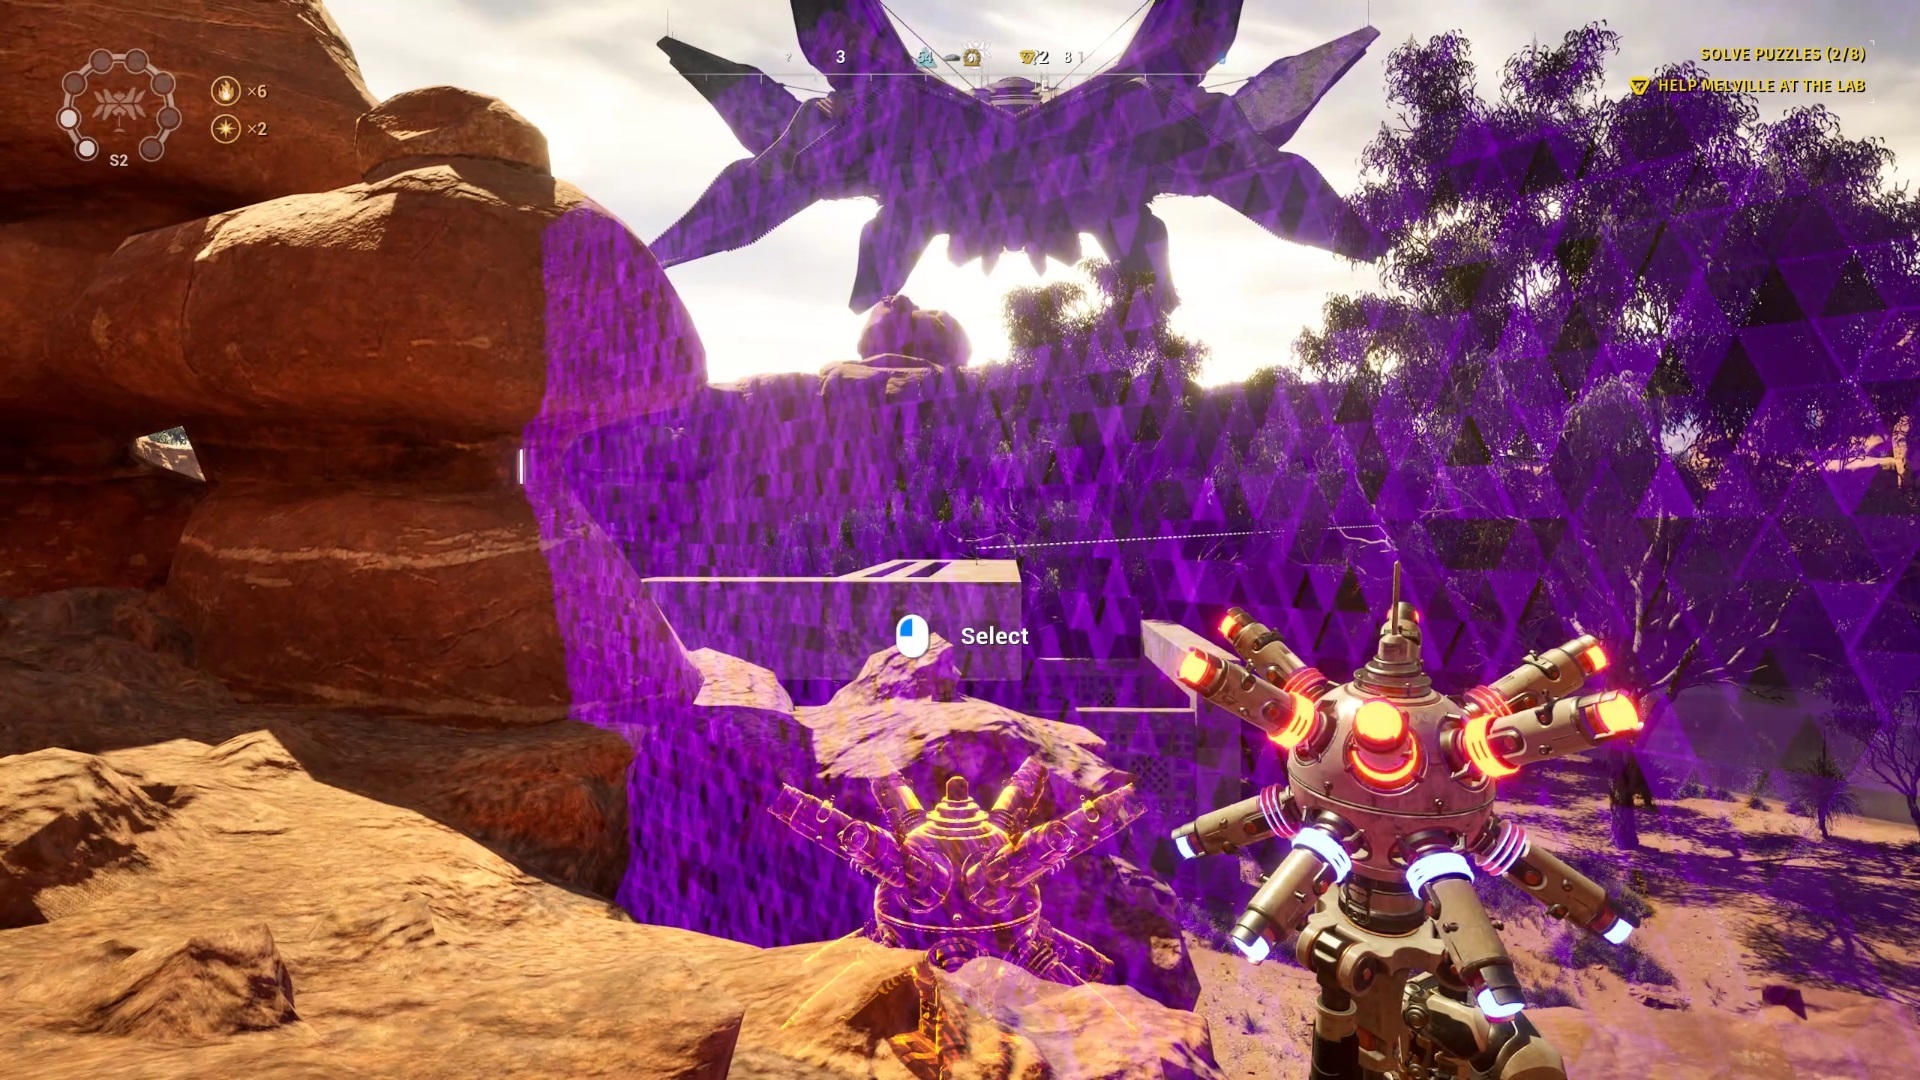
Begin in puzzle room no. 2. For those who stroll across the puzzle room’s exterior to the other aspect from the doorway, it is best to discover a cave reduce by way of the rock that creates a path to the opposite aspect of the world. Search for by way of this path and you may see a sequence of Connectors linked collectively. You will have to bounce a laser to this group. Again within the no. 2 room, search for the anti-gravity panels on the ceiling that create an L-shape. Seize the Gravshifter and purpose it on the vertical anti-gravity panel, in order that should you have been standing on it you would be sideways, parallel to the bottom. Whenever you place the Gravshifter, be certain that it is on the button that prompts the fan and that its anti-gravity column travels over the fan.
Seize a Connector and use the fan to ship your self to the anti-gravity panel. Bounce as much as the highest panel so that you just’re upside-down and use the Connector on the blue laser emitter and the Connector hanging from the ceiling of the cave pathway. You will in all probability have a tricky time recognizing it due to bushes in the best way, however the distant Connector will probably be highlighted in case your purpose passes over it.
Depart no. 2 and return to the bonus puzzle room close to the Pandora statue. You will discover it by following the blue laser. Within the cliff wall beside the bonus room, it is best to see the purple particle wall that stops you from taking objects by way of it, indicating you may attain an alcove there. To the left of the particle discipline is an anti-gravity panel excessive on the rock partitions. Contained in the bonus puzzle room, discover the Gravshifter and purpose it out of the puzzle room on the anti-gravity panel. Use the anti-gravity column to achieve a pathway there and head by way of the purple discipline to seek out an Inverter. Join the Inverter to the Connector that is receiving the blue beam on prime of the bonus puzzle room. You may simply drop it right here with that one connection, however put it near the sting in order that it is seen from the bottom.
Now drop down and go north, previous the bonus puzzle room, alongside the rock wall the place you discovered the Inverter. Right here you may discover a canyon that cuts by way of the rocks. For those who search for, it is best to spot a few followers. You will have to do some climbing to get to them, and you could find the beginning of that path within the nook of the rock wall to your left. Hop up on the rocks and make your manner upward to the followers, then use them to fling your self throughout the canyon. After the second fan, you may discover an RGB Converter. Seize it and carry it again towards the Pandora statue.


Lastly, carry the RGB Converter again to the area in entrance of the bonus puzzle room close to the Pandora statue. Join the RGB Converter to the Inverter you left above and to the blue beam coming from the Connector on prime of the bonus puzzle room.

That ought to provide you with a inexperienced beam that you would be able to connect with the statue.
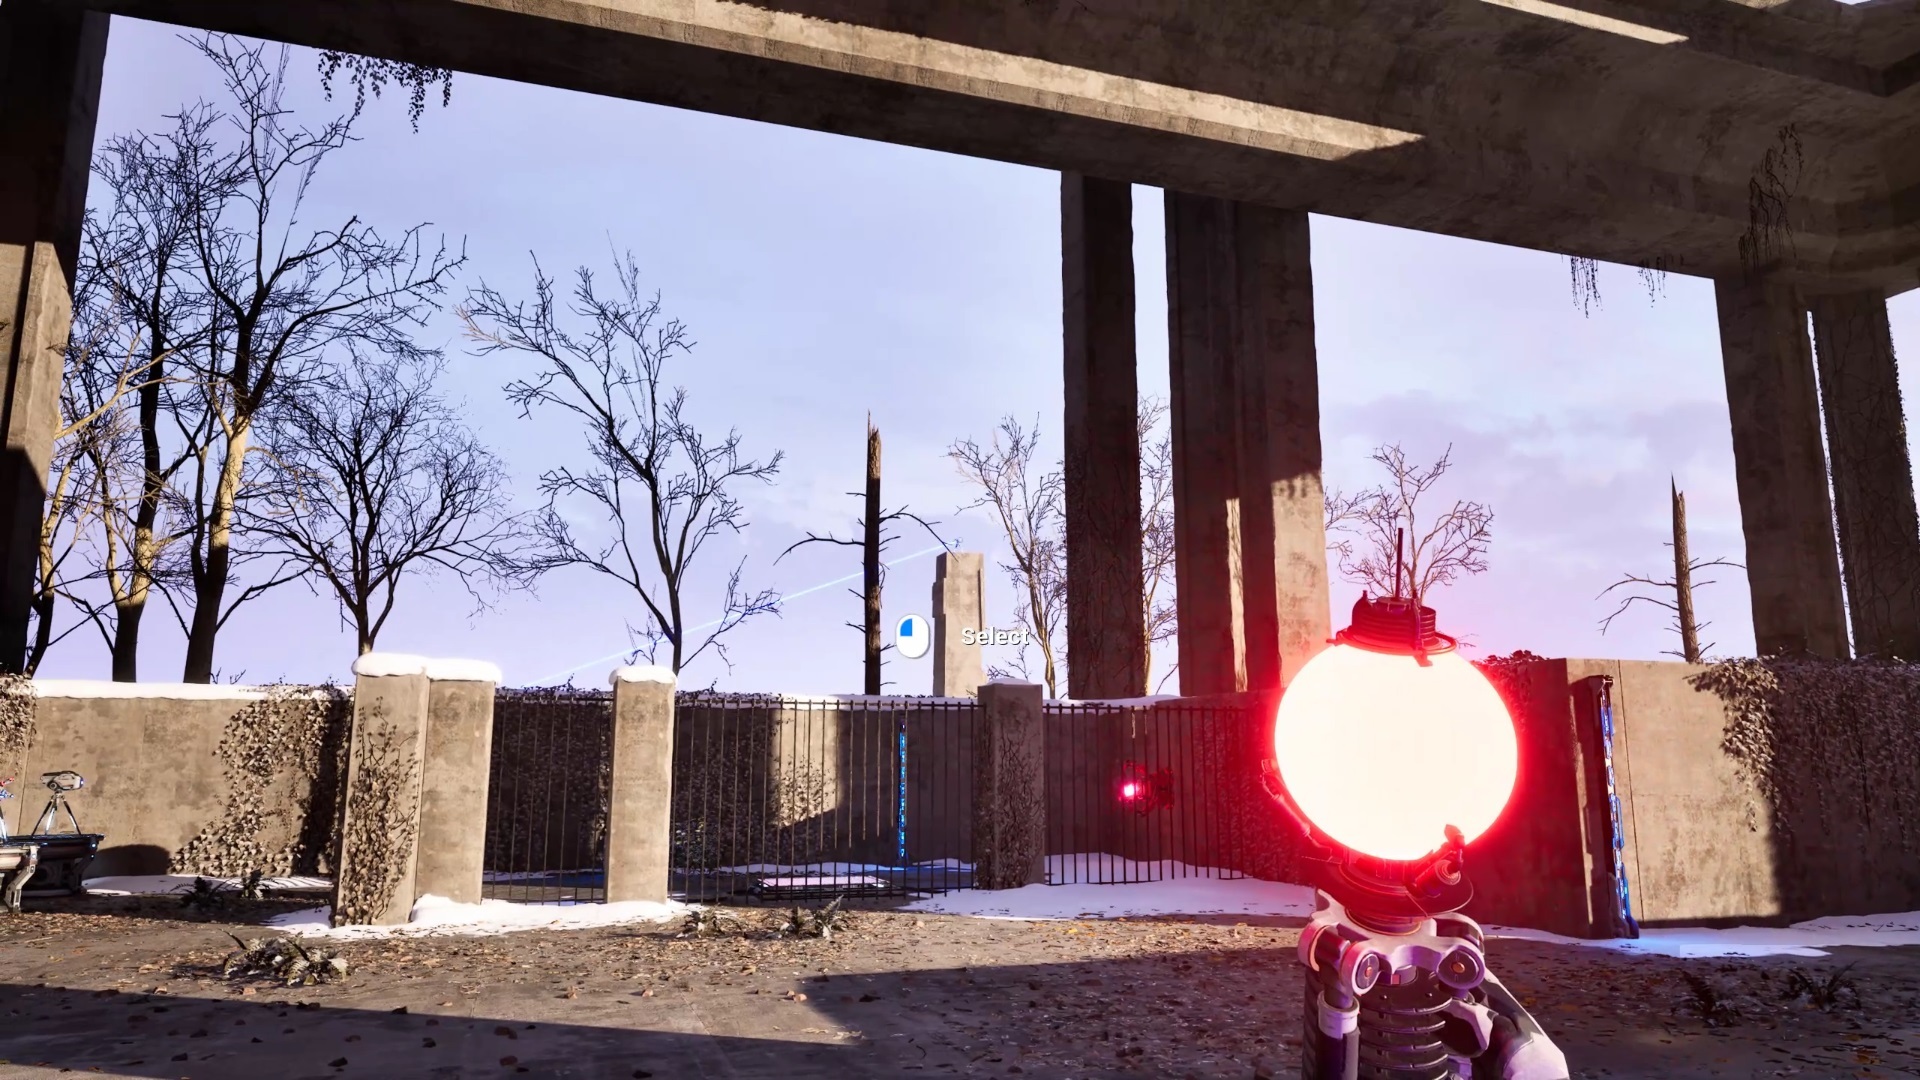
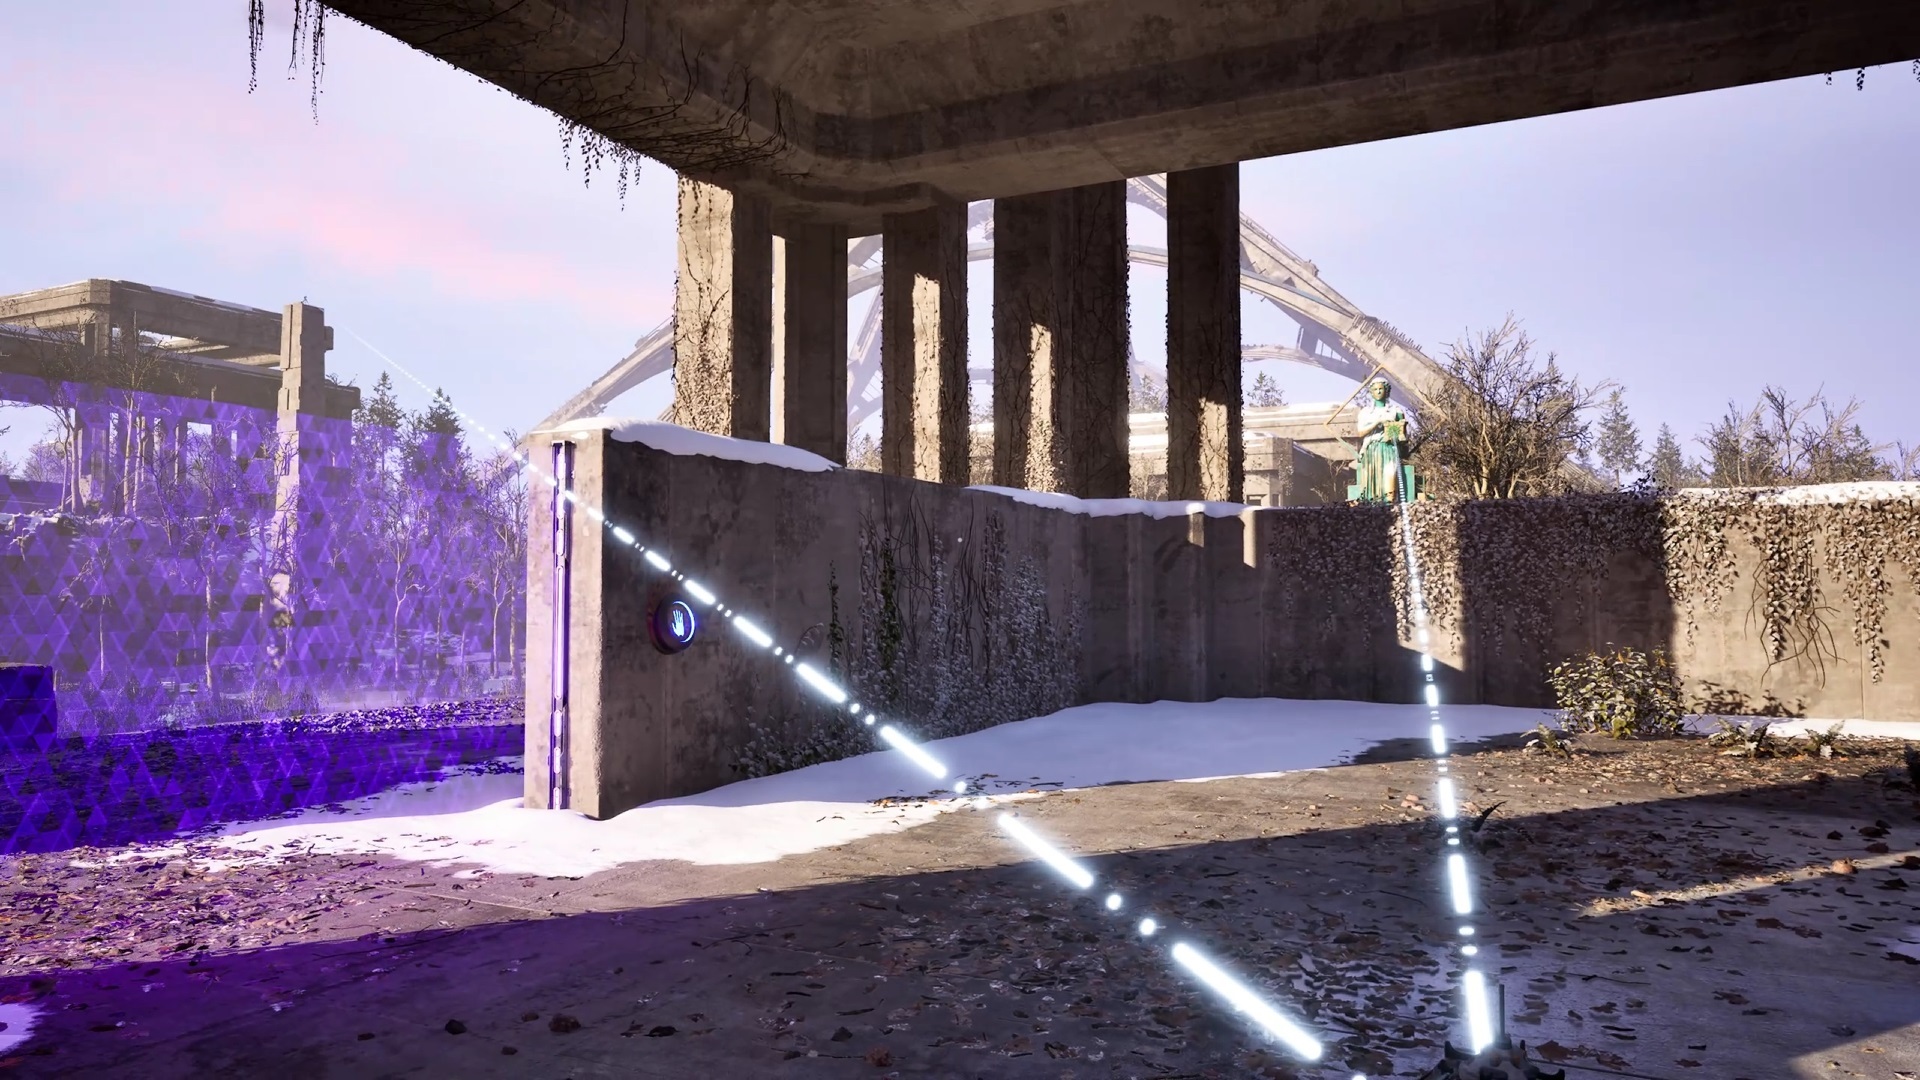
South 3
This one’s powerful, and it may be troublesome to identify the Connectors essential to make it work. Discover the Pandora statue manner out within the japanese stretch of sand the place there does not appear to be something round. There are not any hidden connections being made right here, and seemingly, nothing with a line of sight that may be related to the crimson laser receiver on the Pandora statue.
To unravel this one, it’s a must to activate a particular swap. First, make your method to the no. 2 puzzle room. Flip round and look again by way of the doorway, after which up on the tower excessive above. You need to see a giant blue laser receiver on the aspect of the tower by way of the holes within the ceiling. That is the important thing to fixing the puzzle, and your first step.
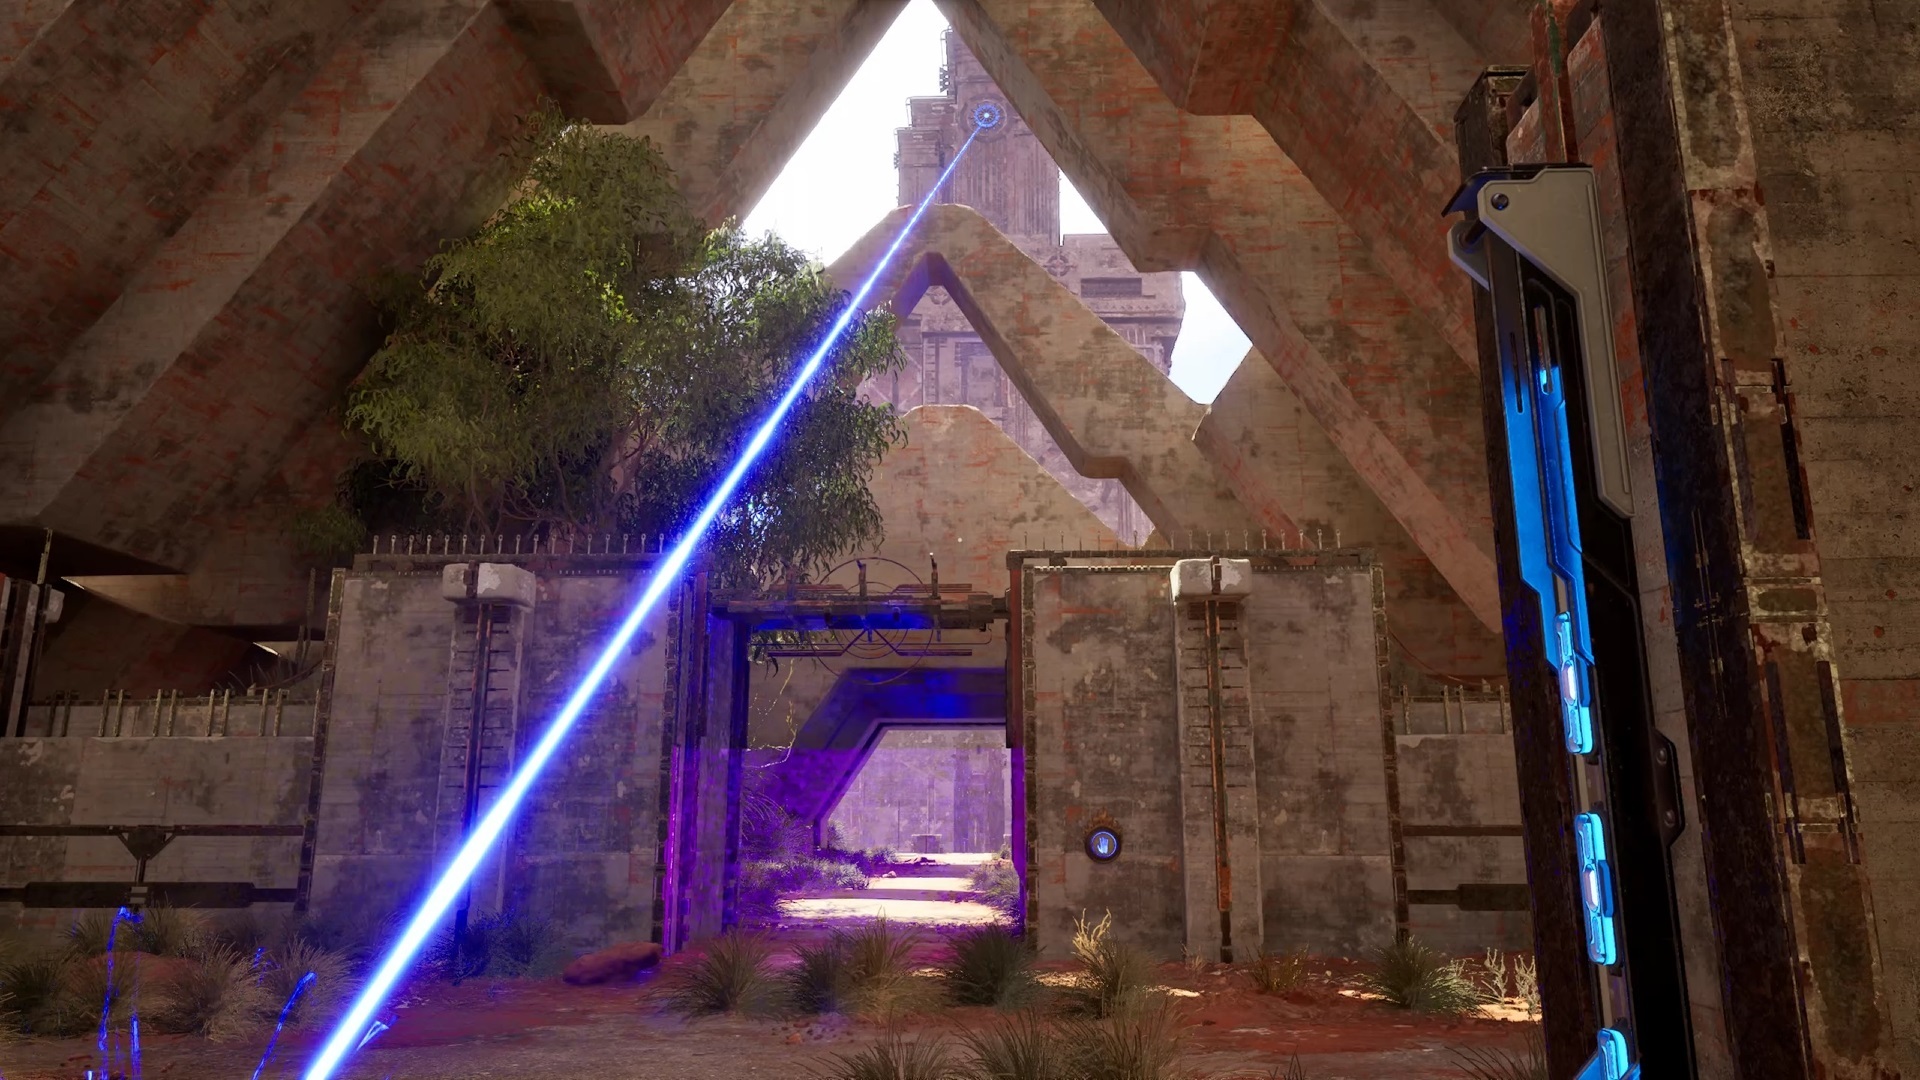
Seize a Connector and join the close by blue laser to the receiver on the tower. Look ahead to a moment–you ought to see a Connector rod rise out of the tower to the fitting of the receiver. You will have to bounce a crimson laser to that Connector.
To get that crimson laser, go away puzzle no. 2 and go round behind it. Head south into the desert to the bonus puzzle room nestled among the many dunes. Inside, you may discover a crimson laser emitter. Use a Connector to ship it as much as the Connector that appeared on the tower close to the blue receiver.

The ultimate step is probably the most complicated. Go all the best way out towards the Pandora statue and the no. 3 puzzle room close by. As you enter, flip left and look to the nook of the room, alongside the wall with the entryway in it, the place it is best to discover a hidden compartment that was opened once you activated the tower’s blue laser receiver. Inside is the ultimate Connector you want.
Seize it and place it on the elevator platform subsequent to the strain plate. Whereas standing on that platform, place the dice on the strain plate to lift the elevator.

From right here, you’ll join the crimson laser from the tower to the Pandora statue.
West 2
Full disclosure: We could not determine the way to clear up this one “appropriately,” or at the very least, evidently manner. We’ll replace this answer if we determine the way to do it because the builders meant, in the event that they did, in actual fact, imply so that you can do it a special manner. Till then, here is how we solved the ultimate Pandora statue.

First, monitor down the statue on the decrease space of the mountain area, down the steps from the no. 4 puzzle room. For those who look above you as you stroll this path, you may see the dotted traces denoting lively Connectors within the space.
Begin by heading into the no. 4 room and grabbing a Connector. Standing close to the entranceway, join the blue laser emitter to the Connector protruding of the rock simply exterior the room to your proper when going through the doorway. You can also make the connection by way of the purple entrance discipline fairly simply.

That is the place issues get difficult. For those who head to puzzle room no. 6 up the mountain some and stroll round its outer partitions to the fitting, you may see a wall that you might make a gap in utilizing a Quantum Driller. You can even see a clear bubble emanating from behind the wall, indicating that there is a Common Activator behind it. That tells you what you may want.
We by no means did discover the required Quantum Driller. Nevertheless, you may get a blue Activator out of puzzle room no. 6. First, go into the puzzle room and seize a dice. Carry it over to the wall close to the left aspect of the doorway, the place there is a nook, subsequent to the no. 6 signal on the opposite aspect. Park the dice subsequent to the wall after which place a blue Activator on prime. Depart the room and go round to the left, previous the no. 6 signal to the place there is a pile of pretty low rocks. Bounce on and you’ll climb them to the highest of this heap, which lets you drop down on the wall of the puzzle room. From there, you may seize the Activator from on prime of the dice and take away it from the room.

Now head again to the Pandora statue. There is not any receiver for a laser beam on this one. As a substitute, it’s worthwhile to use the Activator to snag the blue beam from the close by Connector and drop it beneath the statue to activate it and get your star.

With that, you are finished finishing Pandora puzzles in The Talos Precept 2. Need extra from the mind-bending puzzle recreation? Learn our The Talos Precept 2 overview, as nicely.
The merchandise mentioned right here have been independently chosen by our editors.
GameSpot might get a share of the income should you purchase something featured on our web site.
[ad_2]